
How I Made the
Music Box
Computer Controlled Cutting
What to do
We are to model our own 3D model of a music box using Fusion 360. The music box must be paramentic to allow quick changes to the dimensions. Here are the requirements for the music box:
Dimensions
Wood 3mm Thickness
Any appropriate size
Musical Mechanism Dimensions
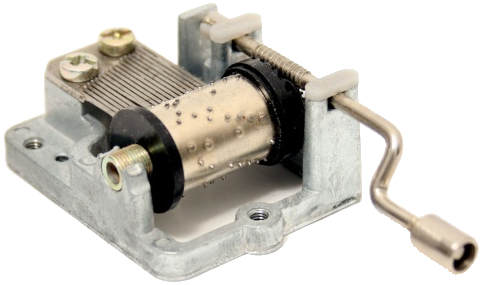
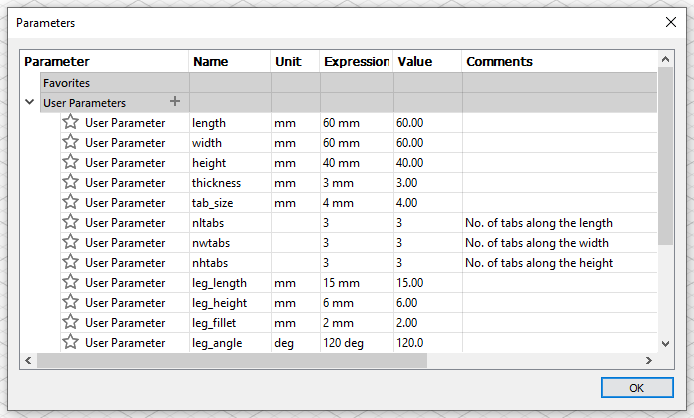
This is the parameters settings I use for my music box. I use same sized tabs and odd numbers of tabs since they are reference from the center.
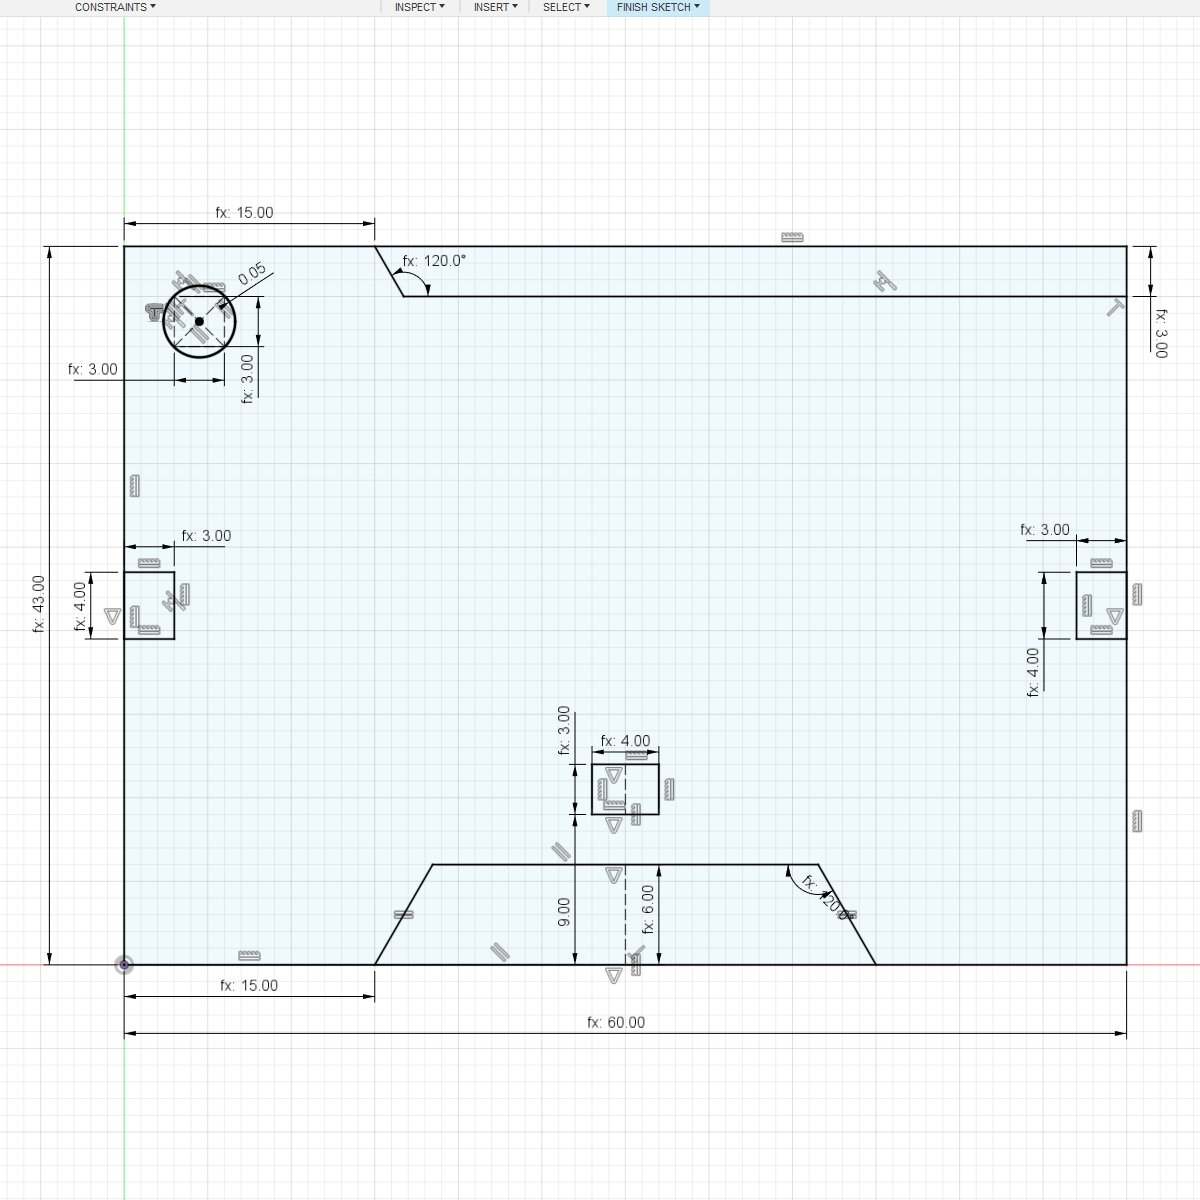 Side Sketch
 Side Extrude
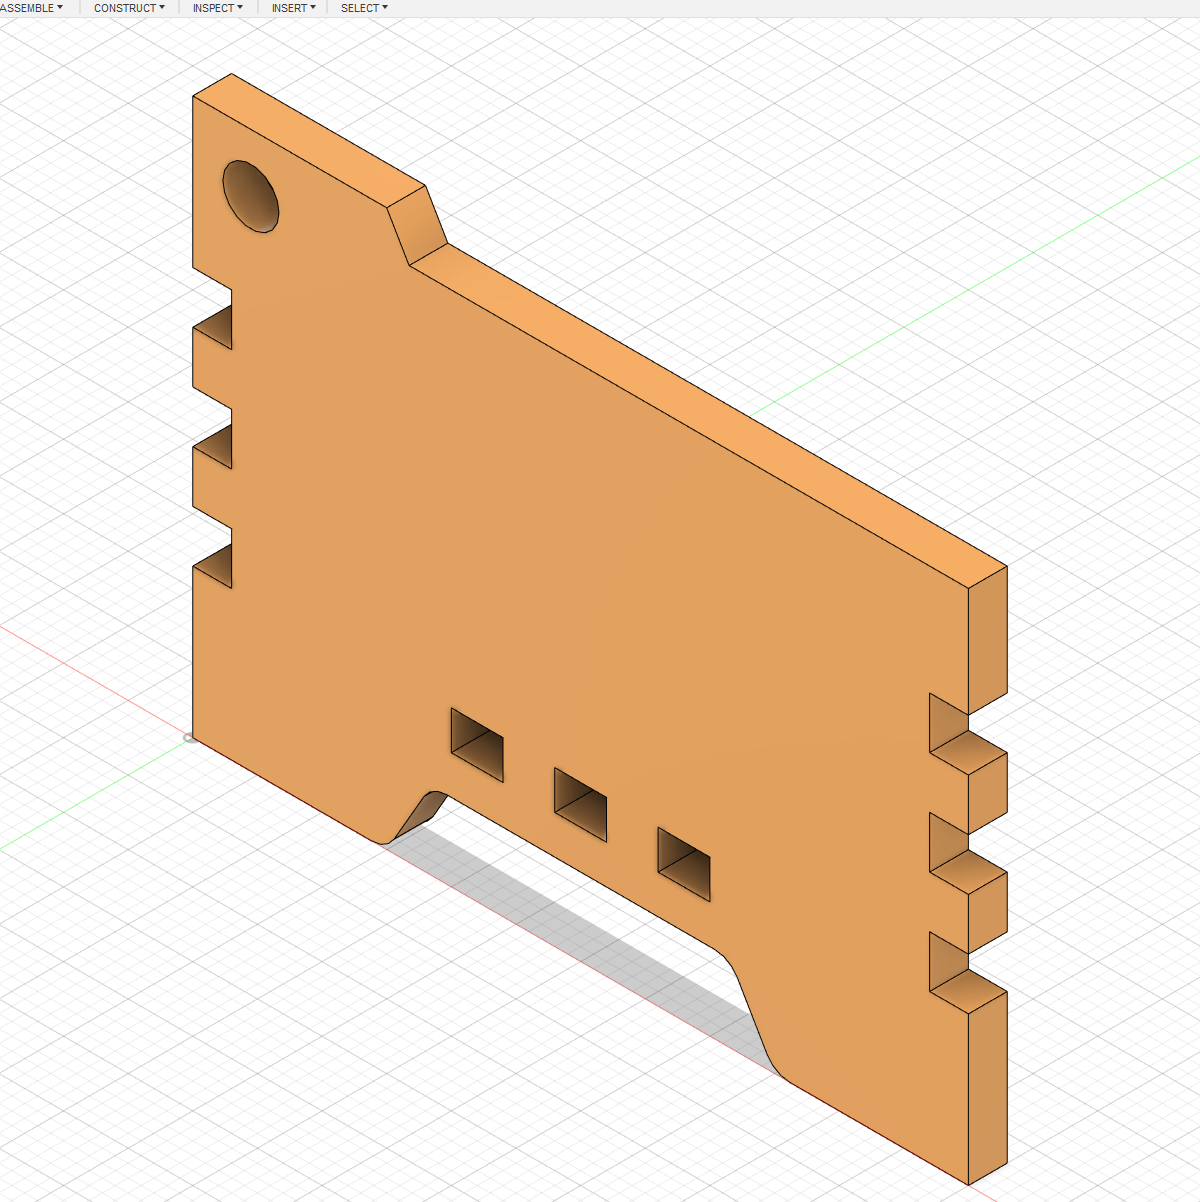
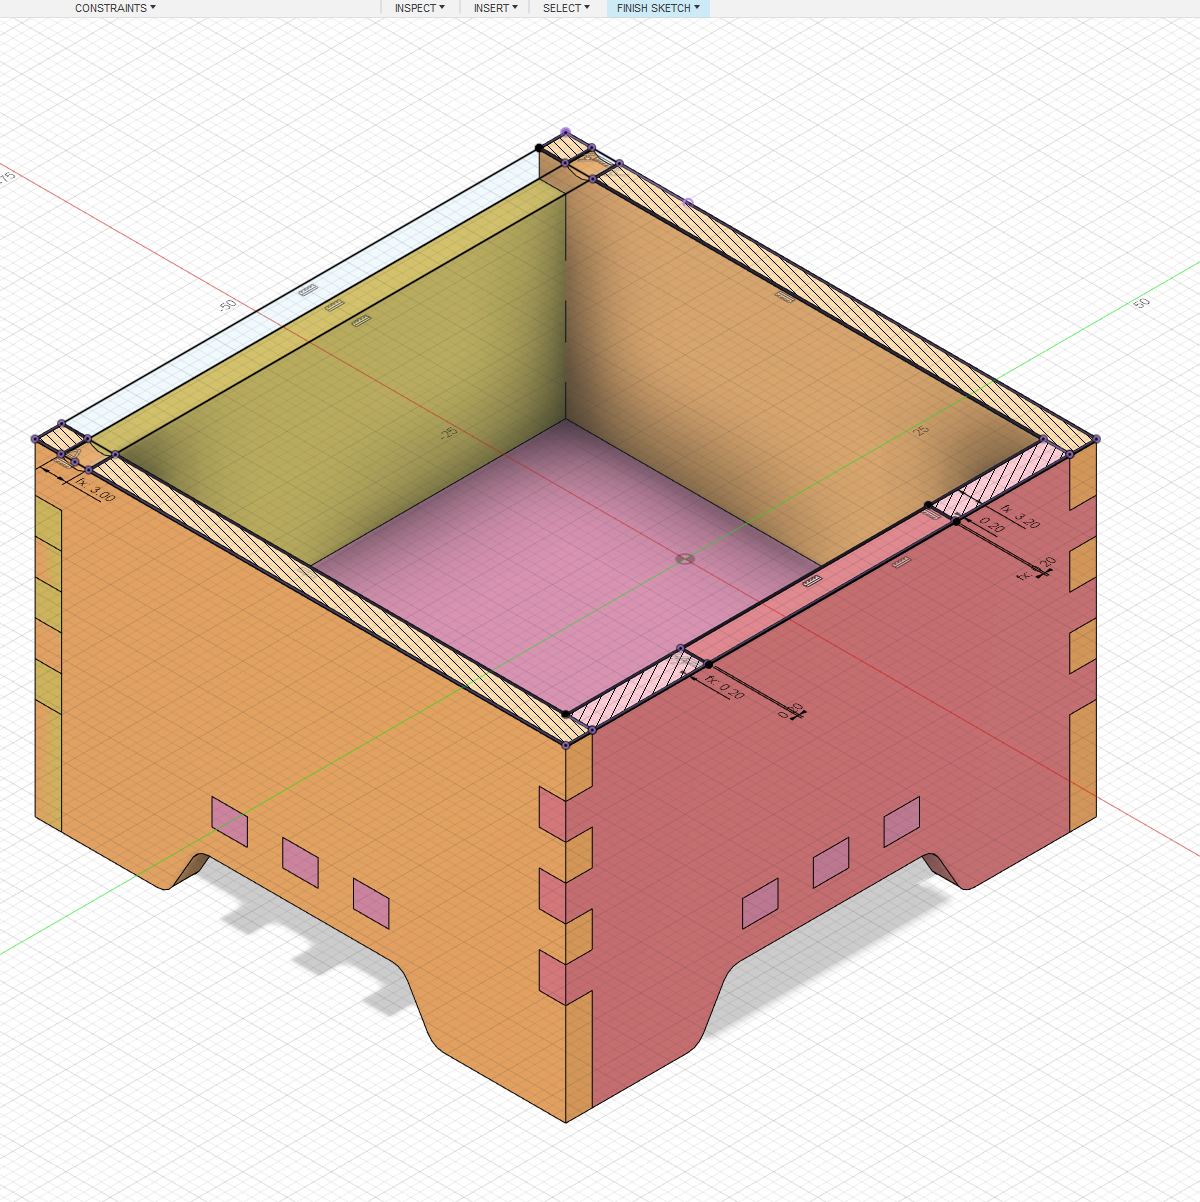
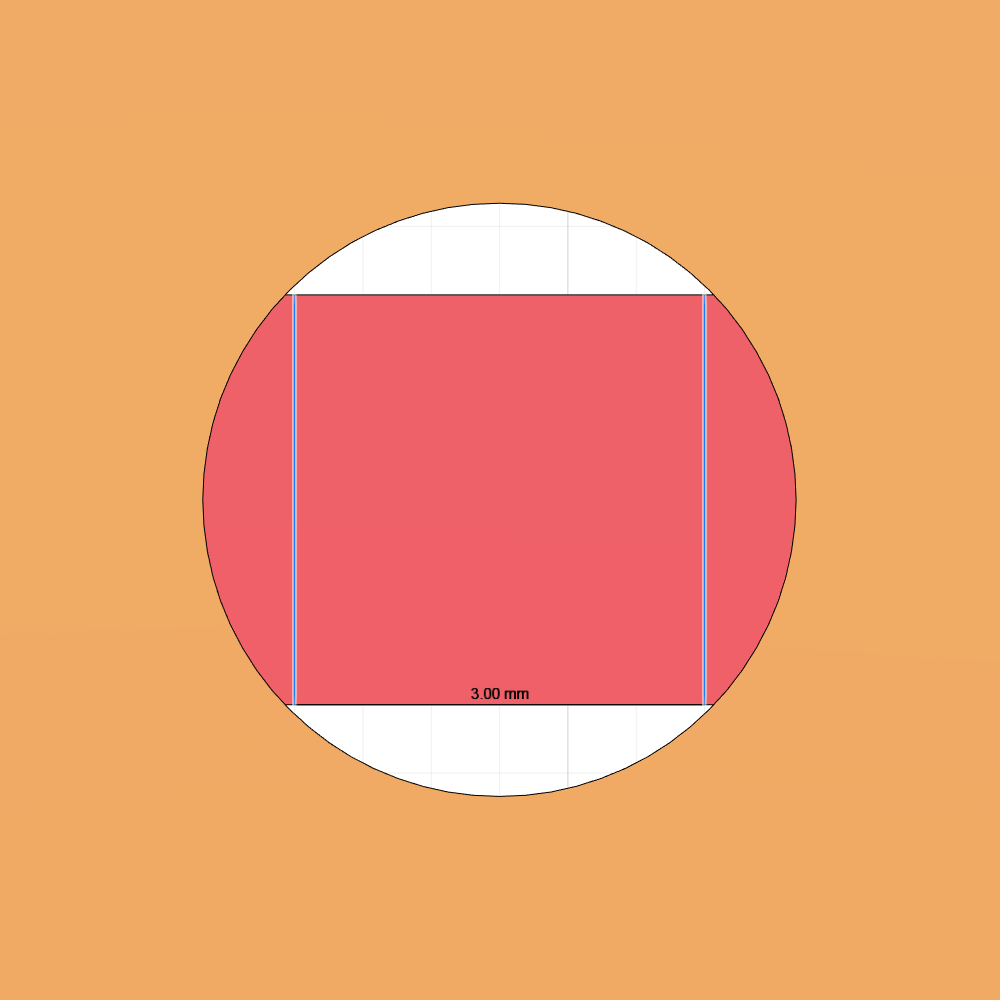
I begin by sketching the side piece including the tabs and holes. I want the box to have legs so I sketched a trapizium below the bottom tab. To ensure the hole is not an exact fit for the hinge of the top piece, I offset the 3mm construction circle to 0.05mm. When the sketch was done, the whole piece including the tabs are extruded 3mm.
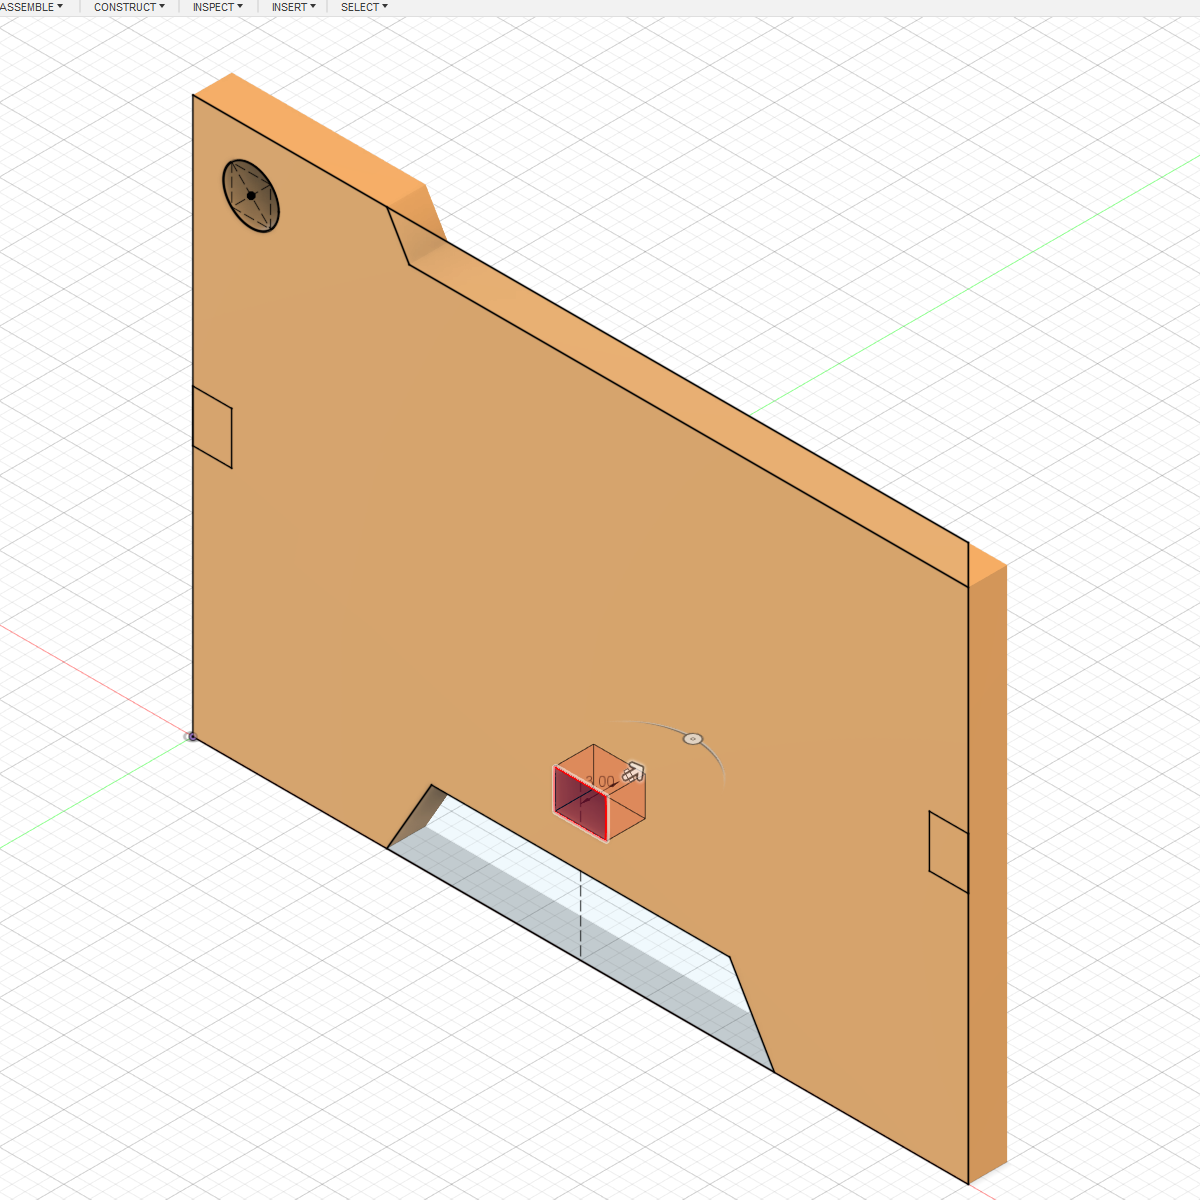 Side Tab Cutout
 Side Tab Patterning
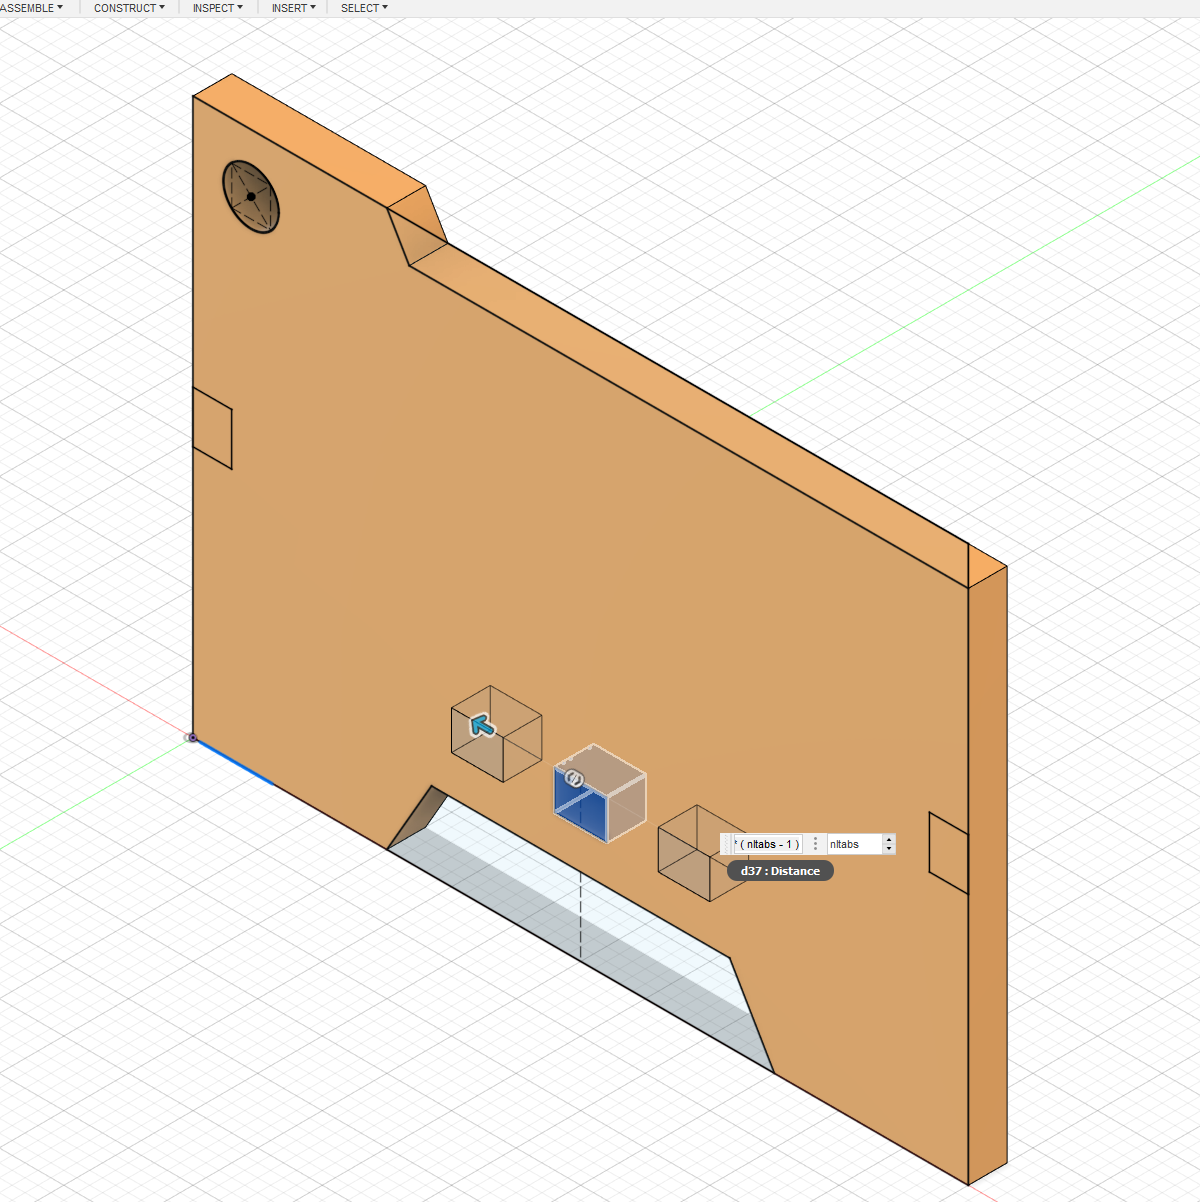
 Side Tab Cutout
 Side Tab Patterning
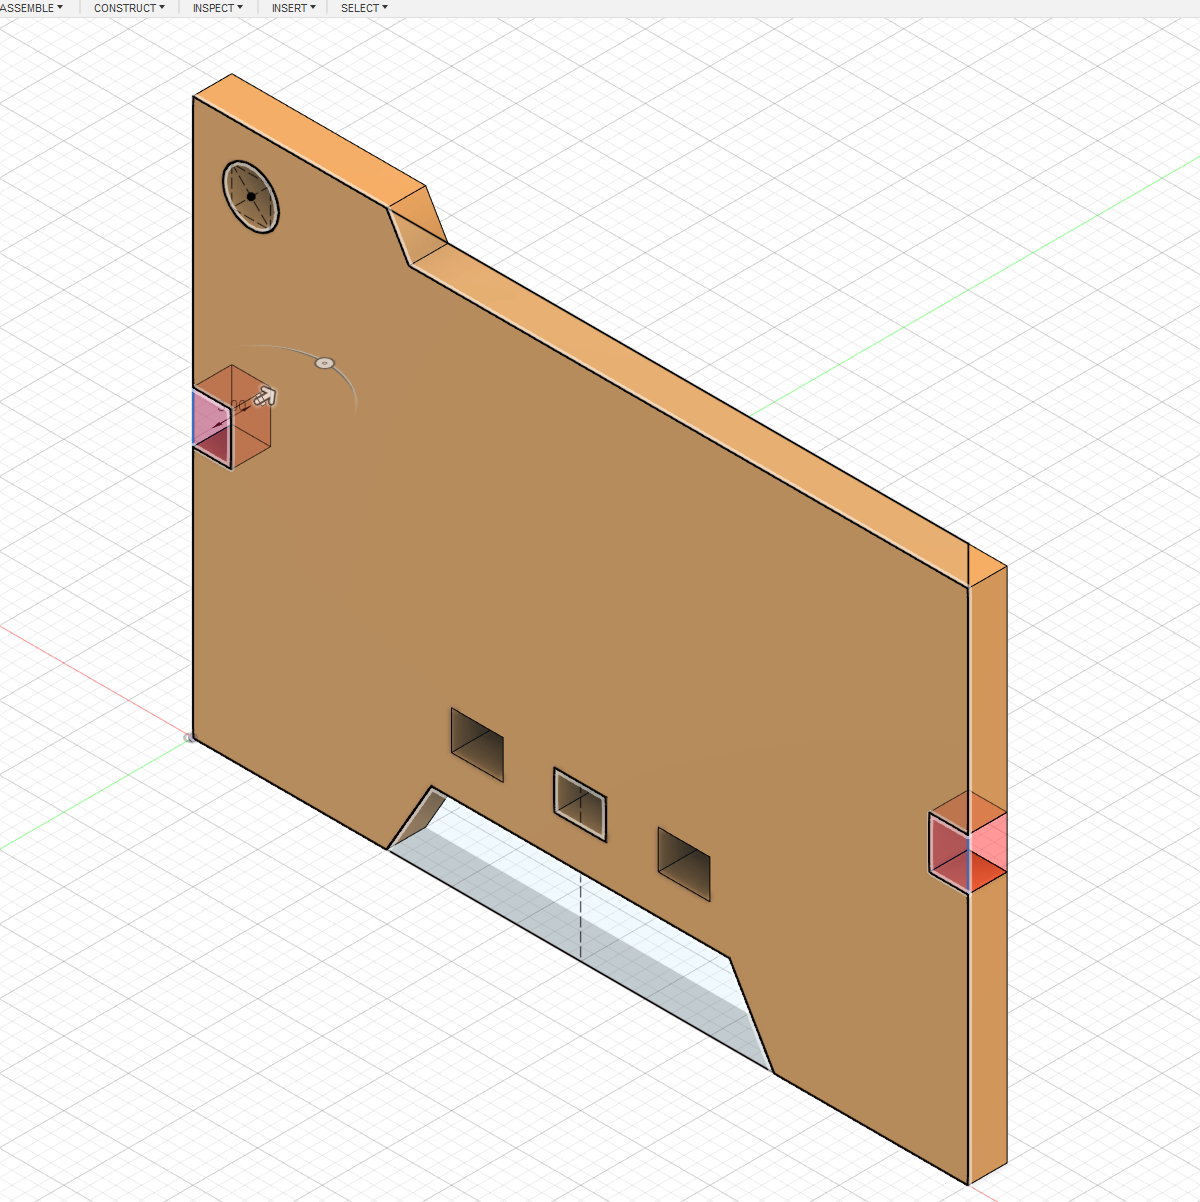
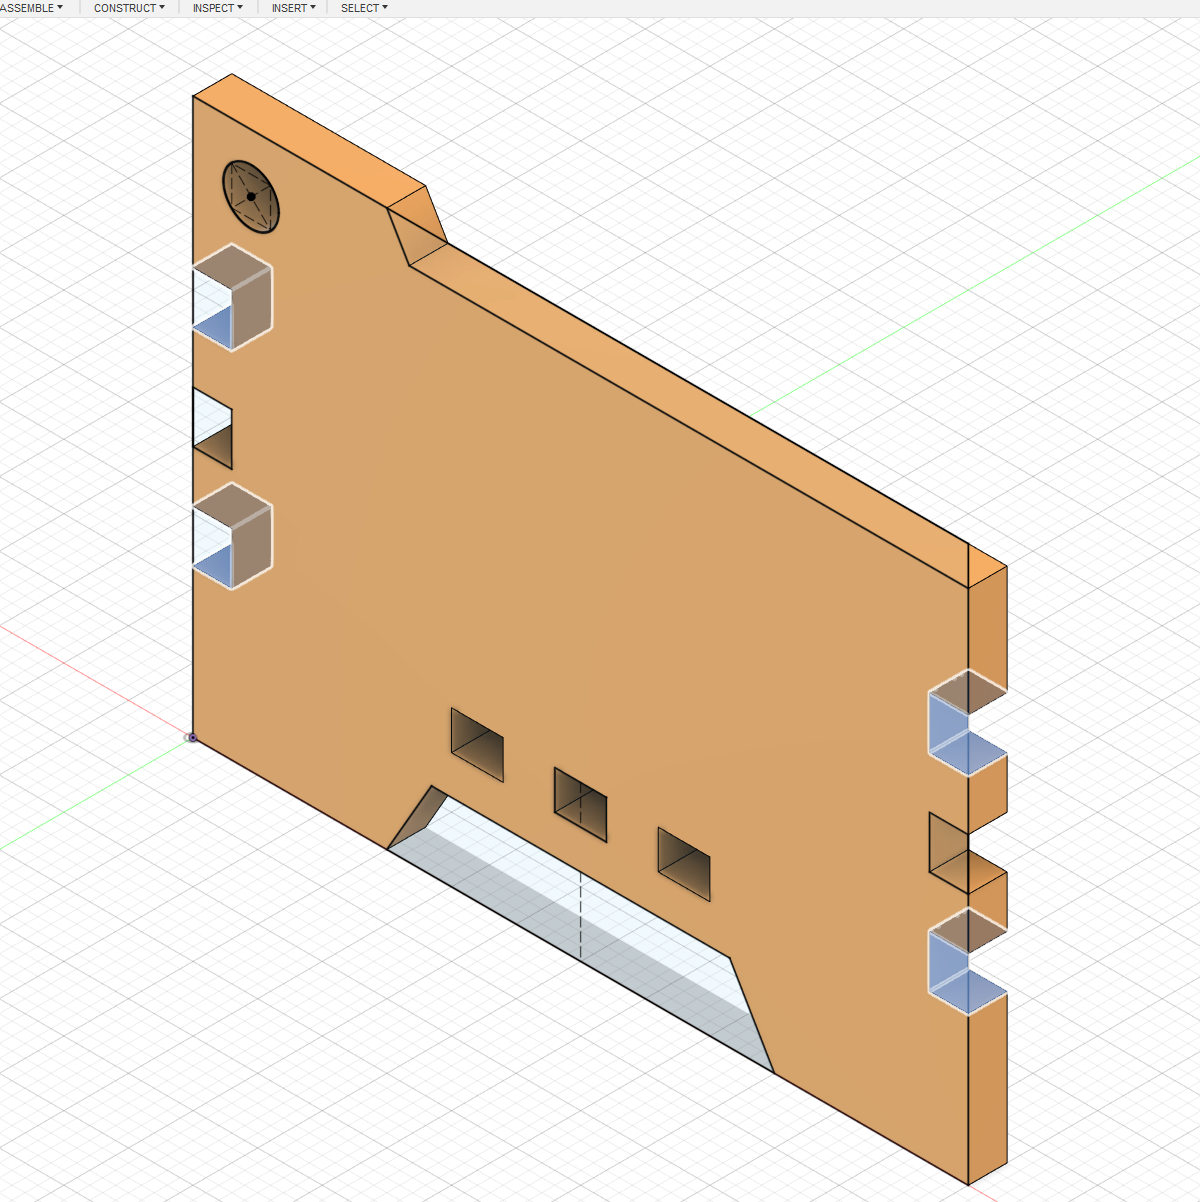
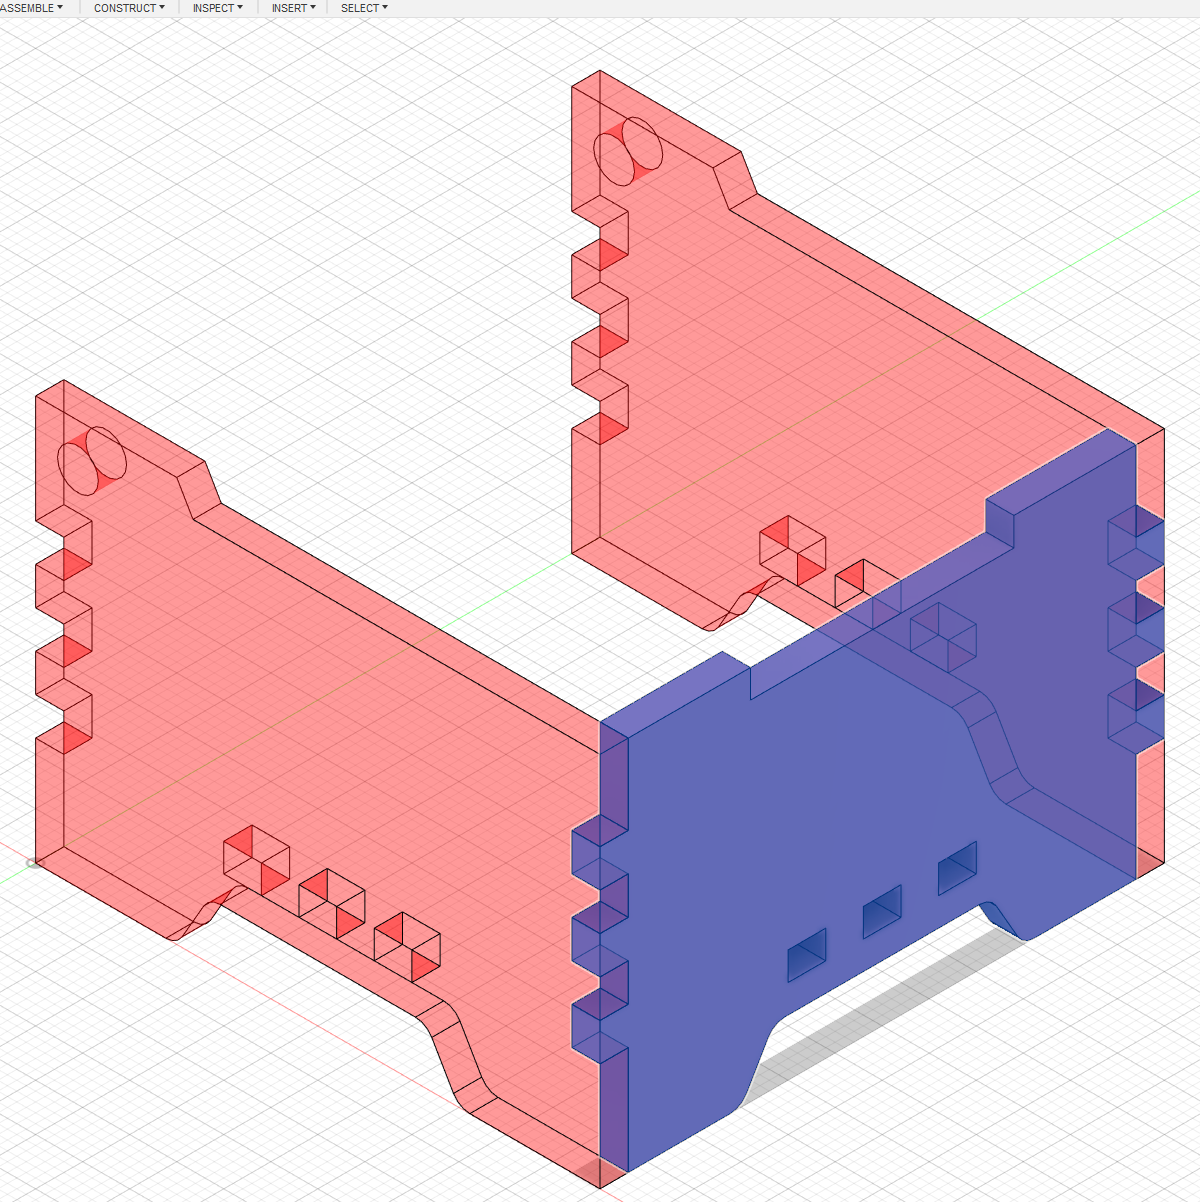
Next, using the same sketch I cut out the bottom and side tabs individually so that I can use the rectangular pattern on the features seperately. I symmetrically offset them using the same length of each tabs along the box's length and height respectively. Once the side piece is done I fillet the corners around the legs.
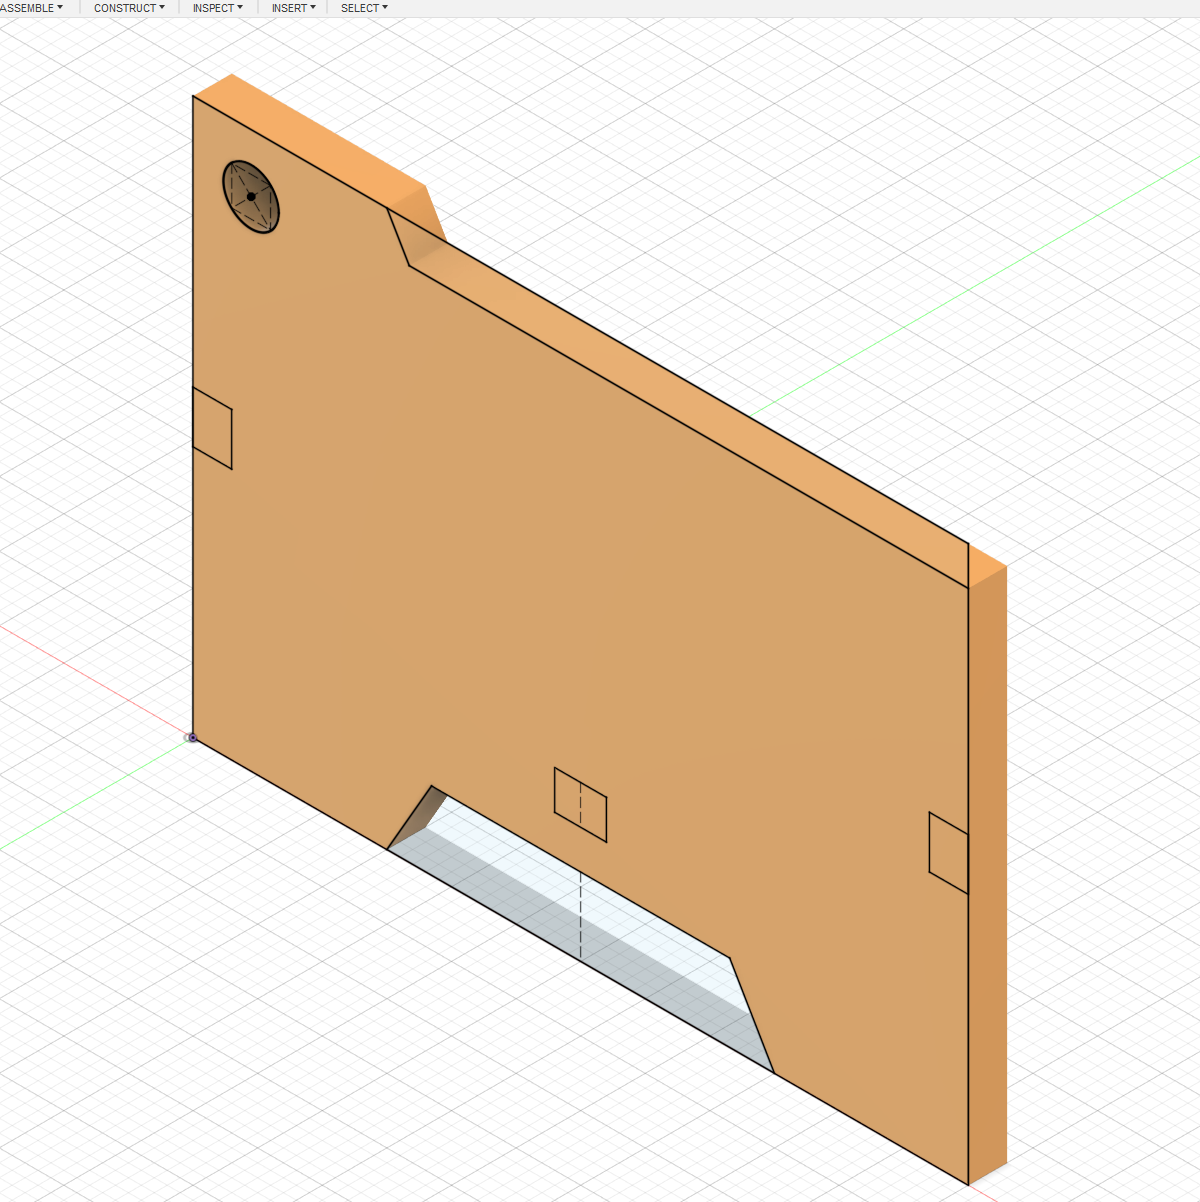
 Side Final
Once the side piece is done I fillet the corners around the legs.
 Front Sketch
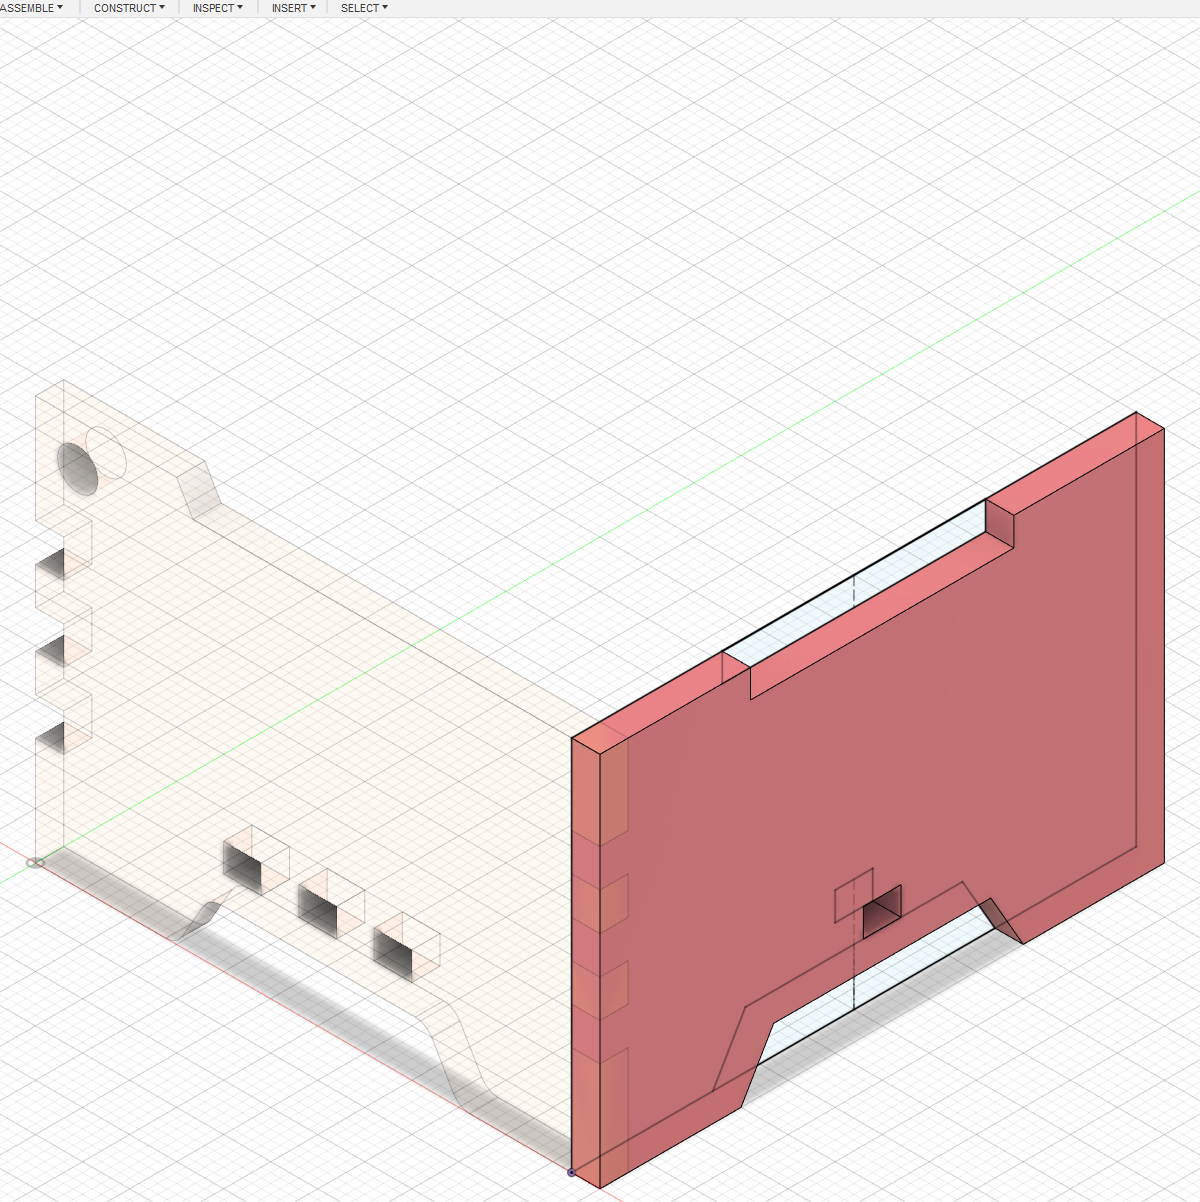
The second component is made using the side piece as the parent.
 Front Extrude
 Front Tab Cutout
 Front Tab Patterning
 Front Final
The front piece can be done similarly to the piece before. However, I do not neccesarily have to make the tabs at the sides.
 Side Mirror
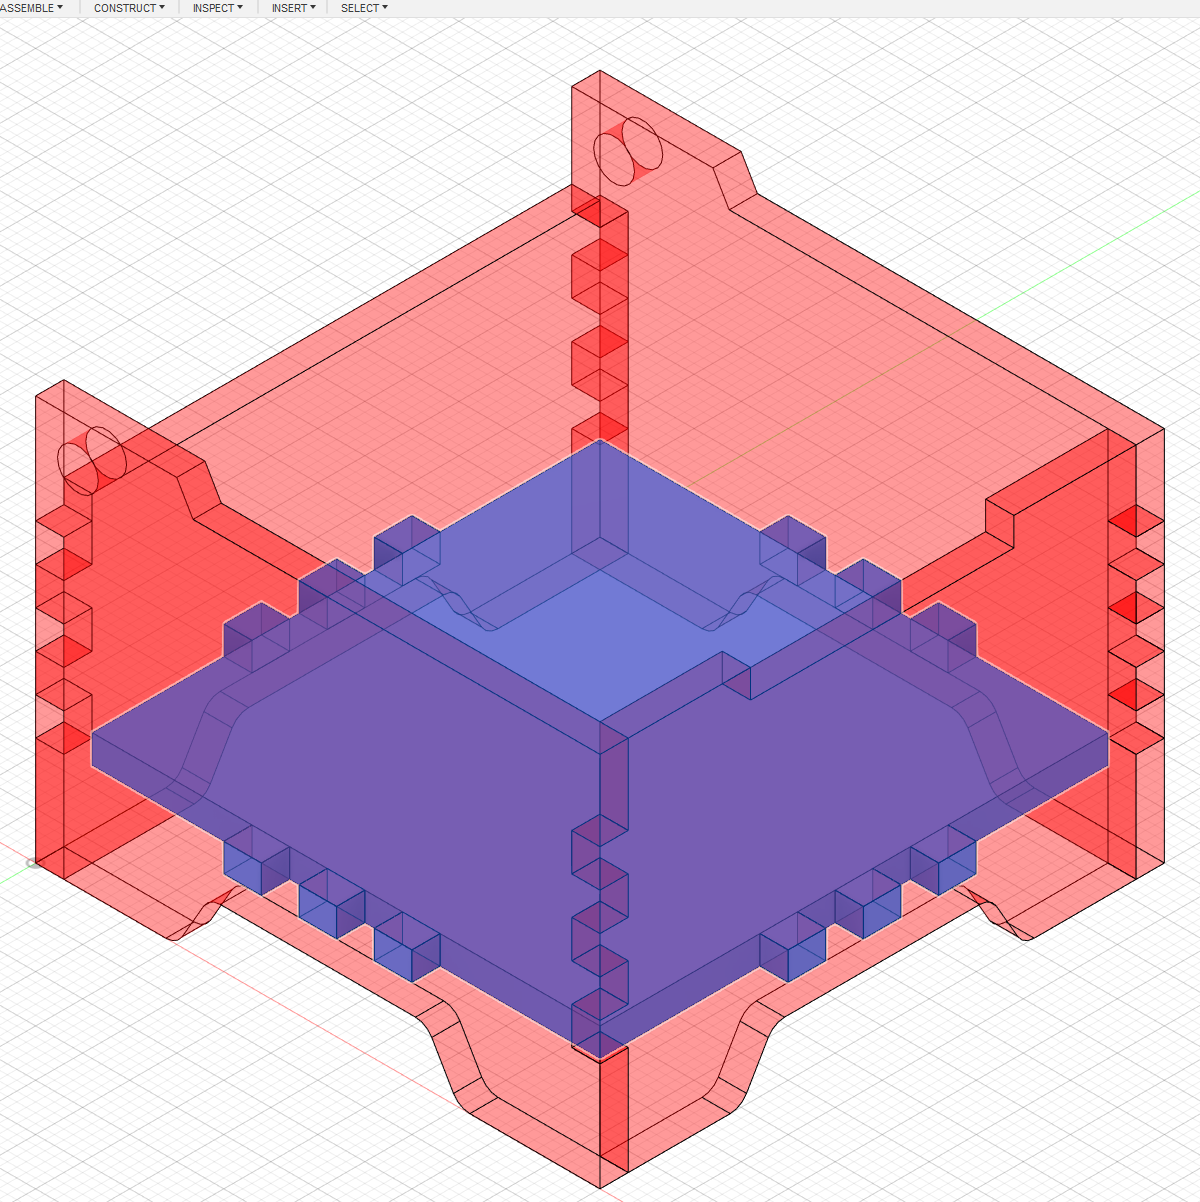
 Intersecting
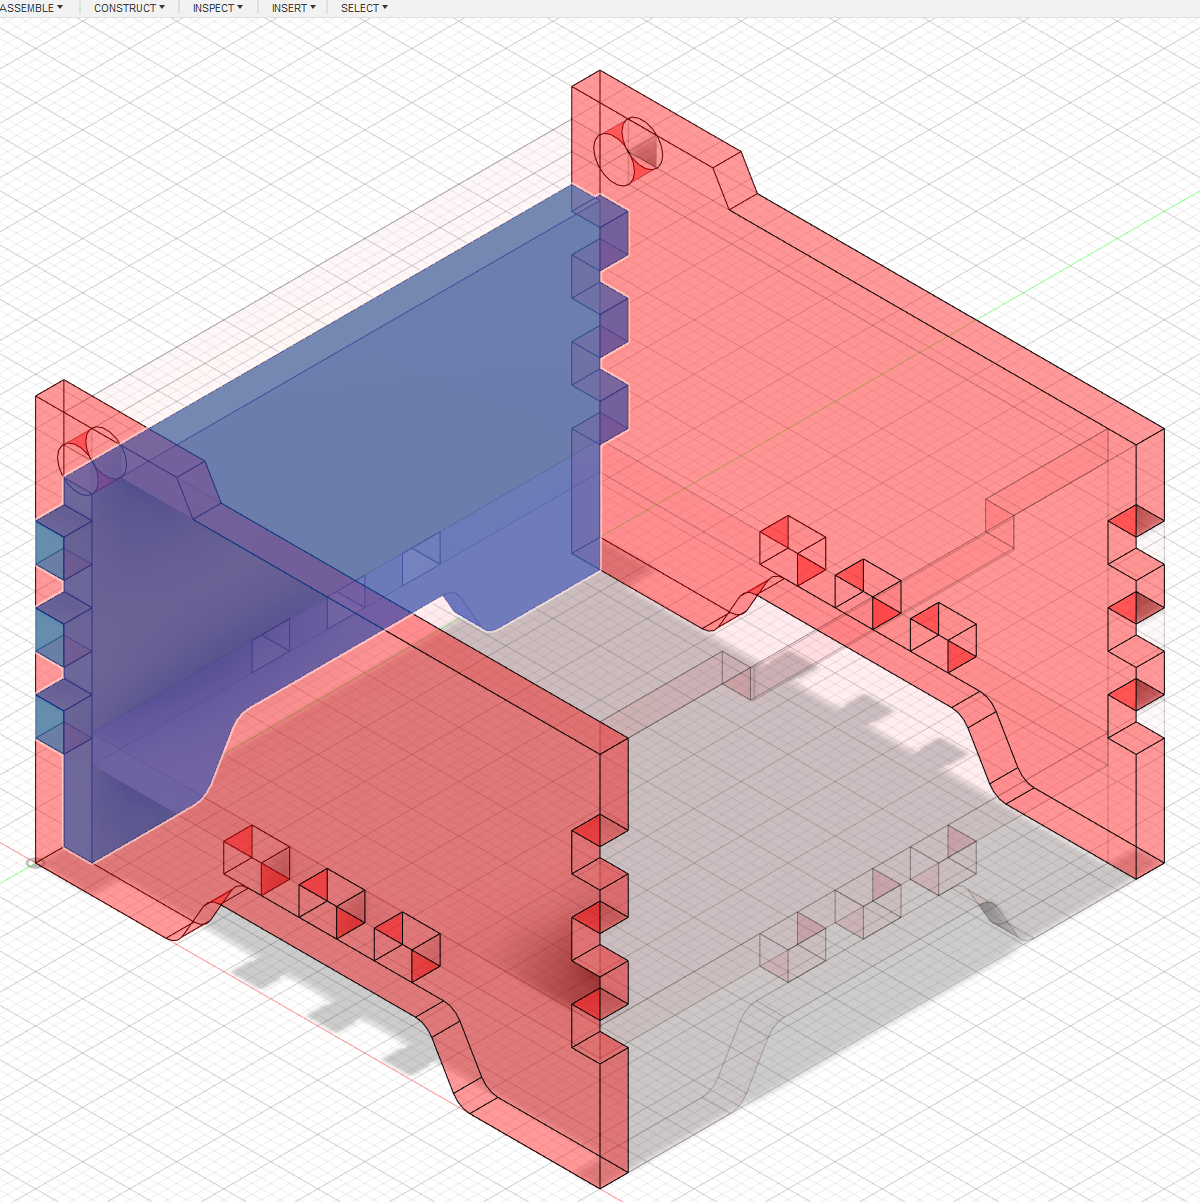
A midplane is constructed on the bisect of the front piece to mirror the side piece on the other side. Notice that the side pieces are intersecting into the front piece.
 Combine Front
 Front Final
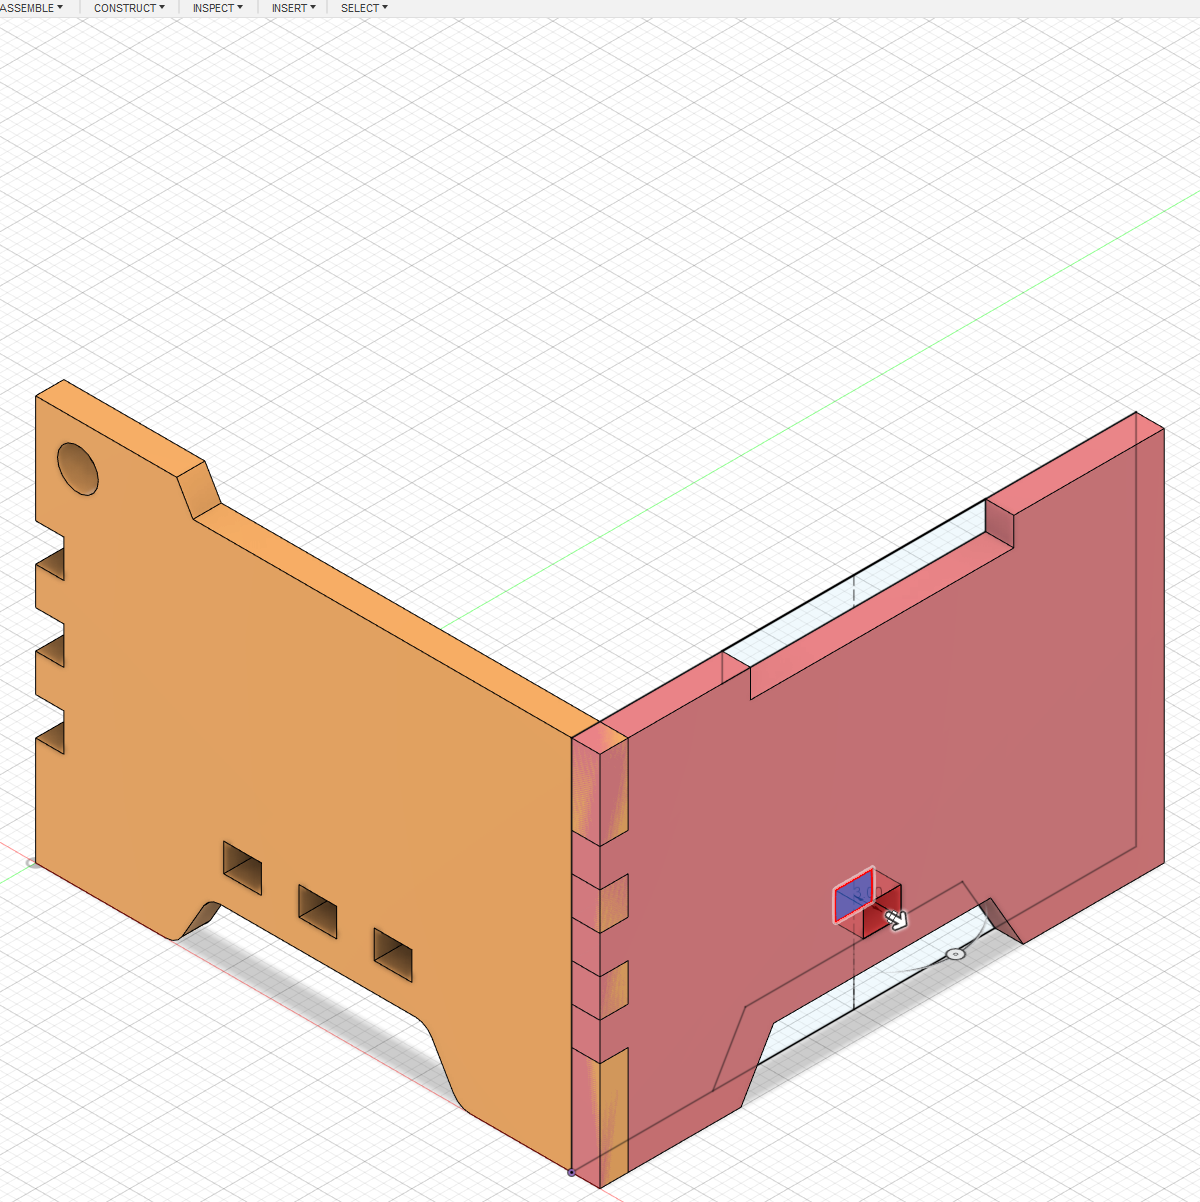
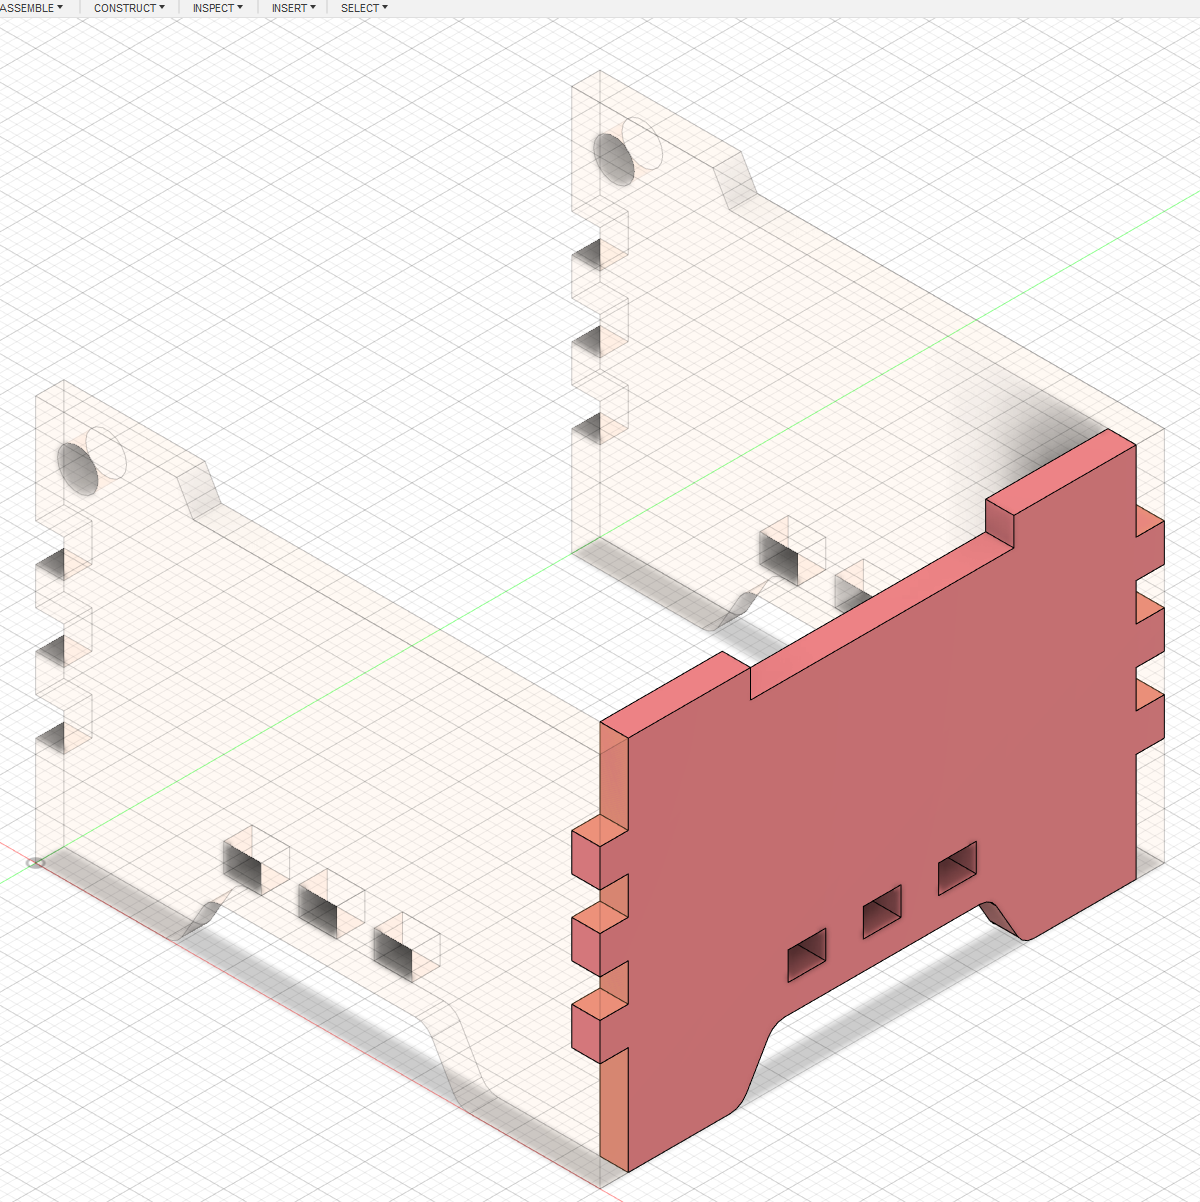
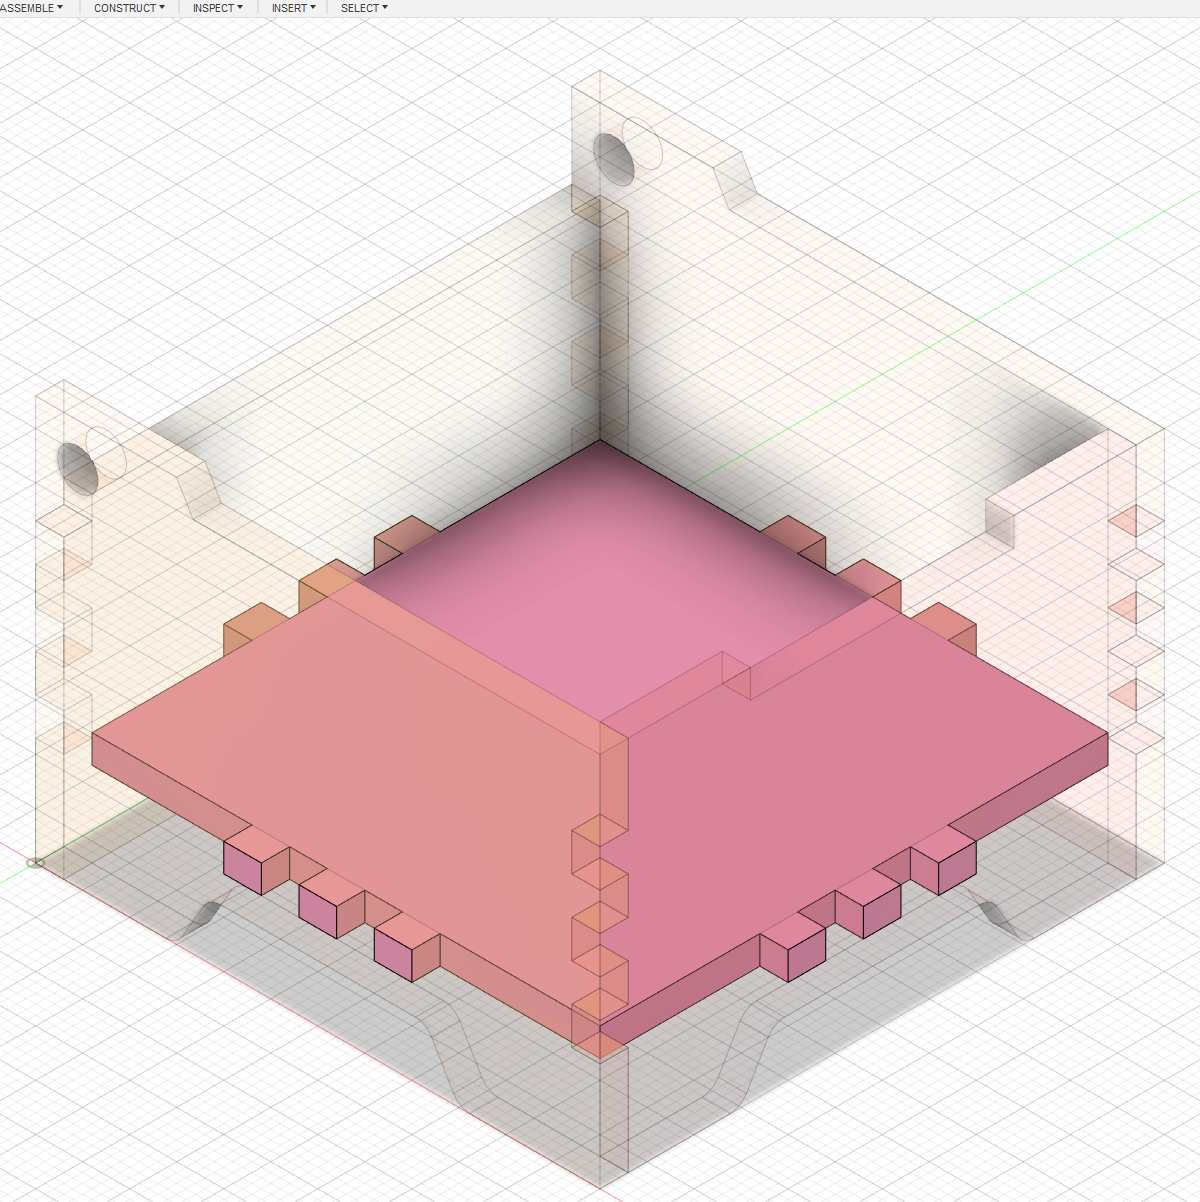
To cut the tabs for the front piece, the combine tool is used. Using the side pieces as tool bodies and keeping tools, the tabs are cut out of the side piece and they no longer intersect.
 Back Sketch
 Back Extrude
 Combine Back
 Back Final
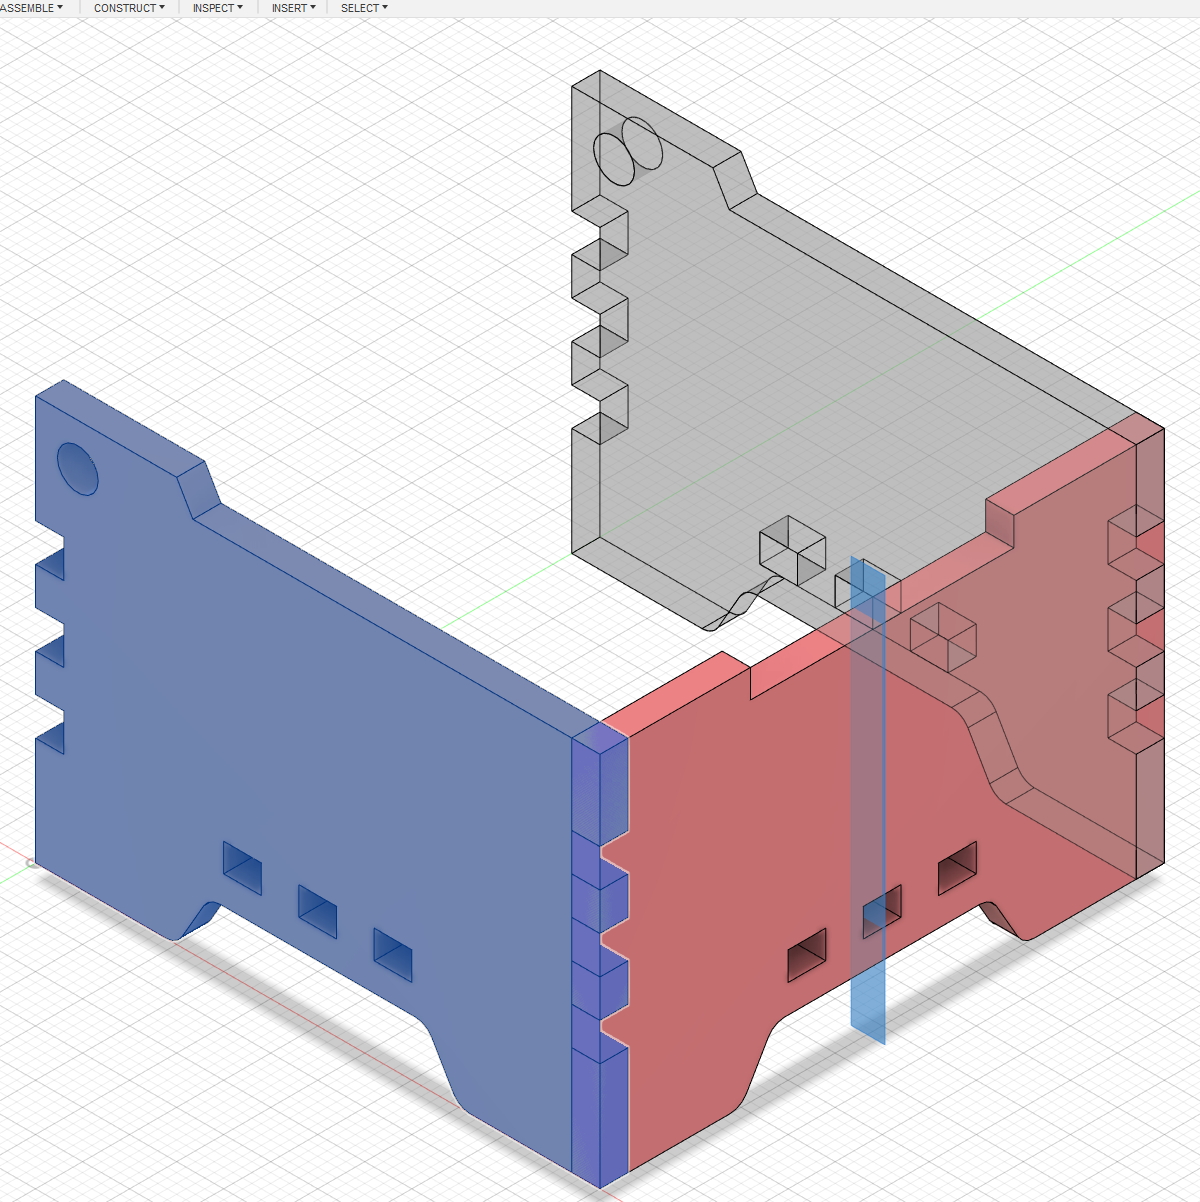
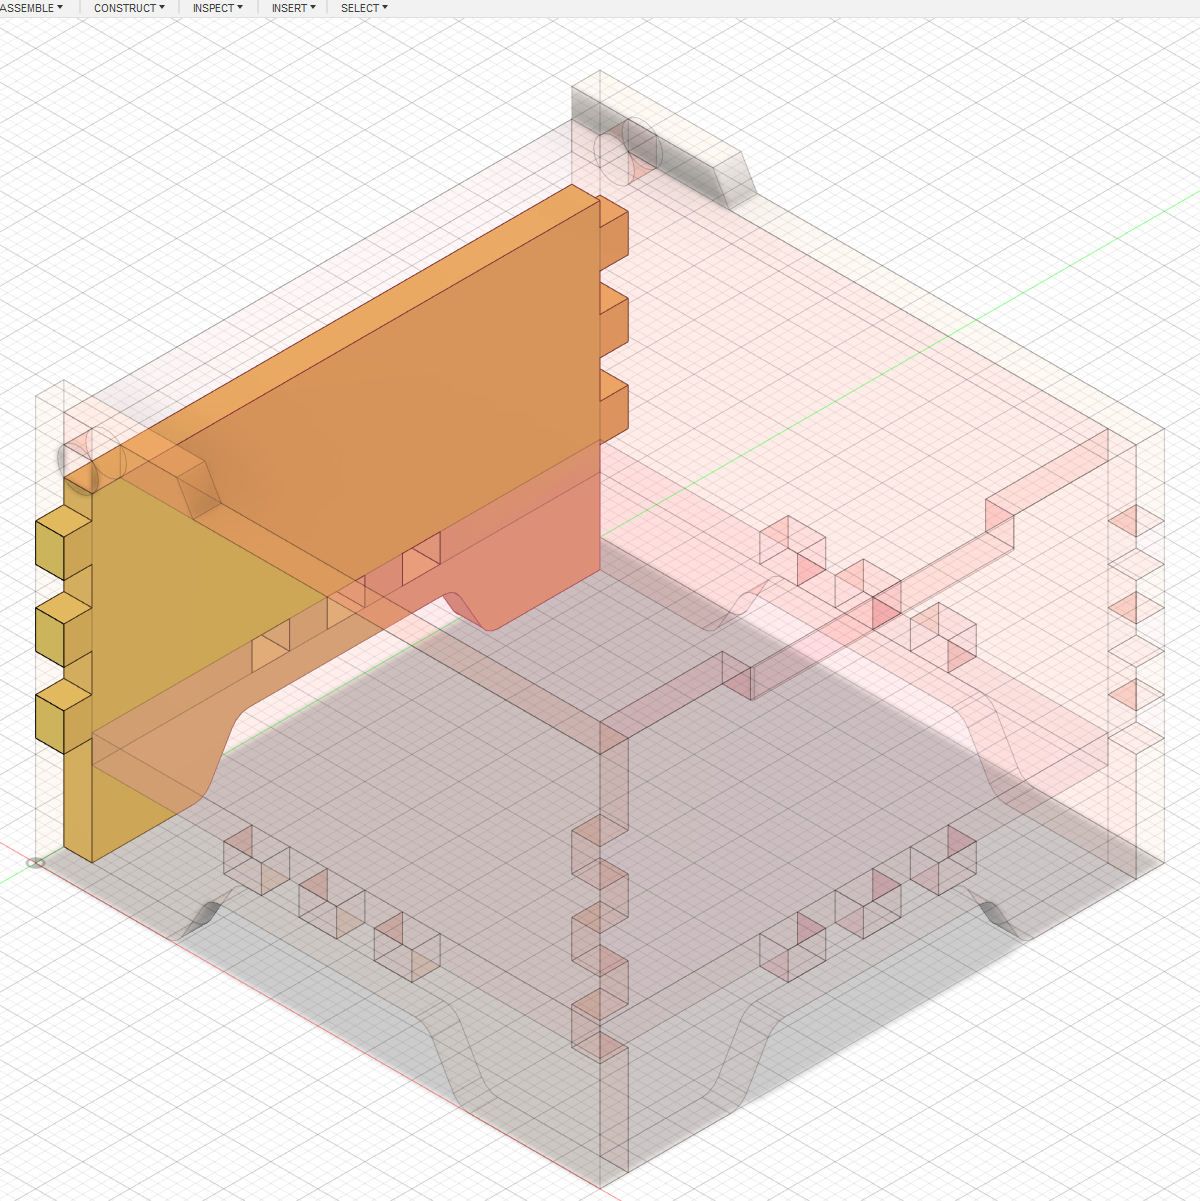
The third component is made using project geometry with reference to the front piece. A similar process to the cut out the tabs for the back piece, the combine tool is used. I did not mirror the front piece because I want the the lid to open more than 180°. Hence the height of the back piece will have to be shorter than the front.
 Bottom Plane
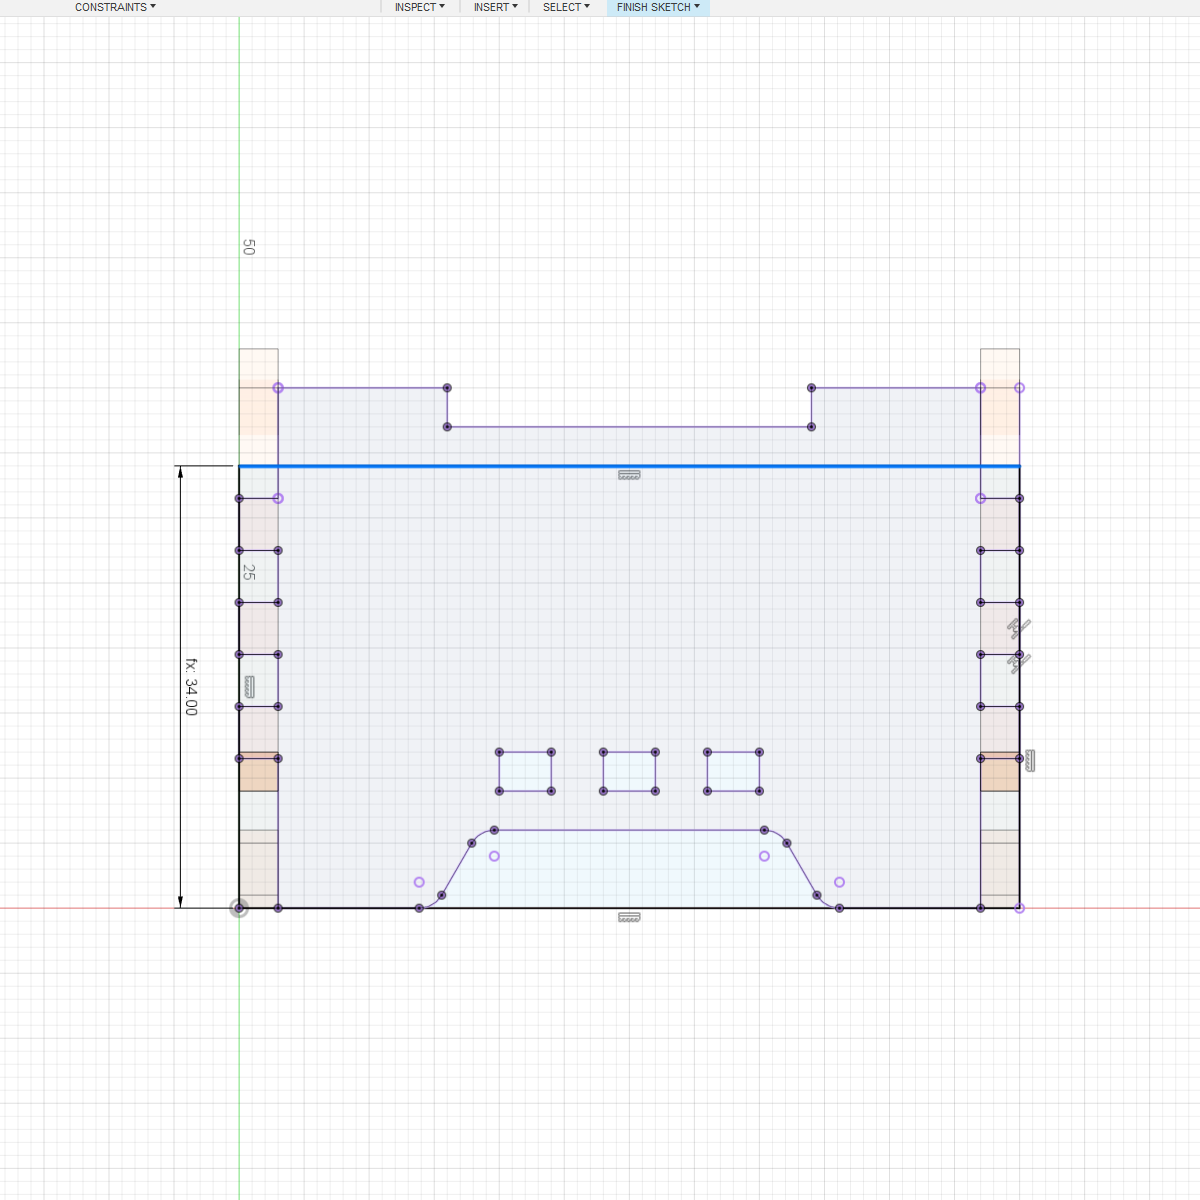
 Bottom Sketch
 Bottom Extrude
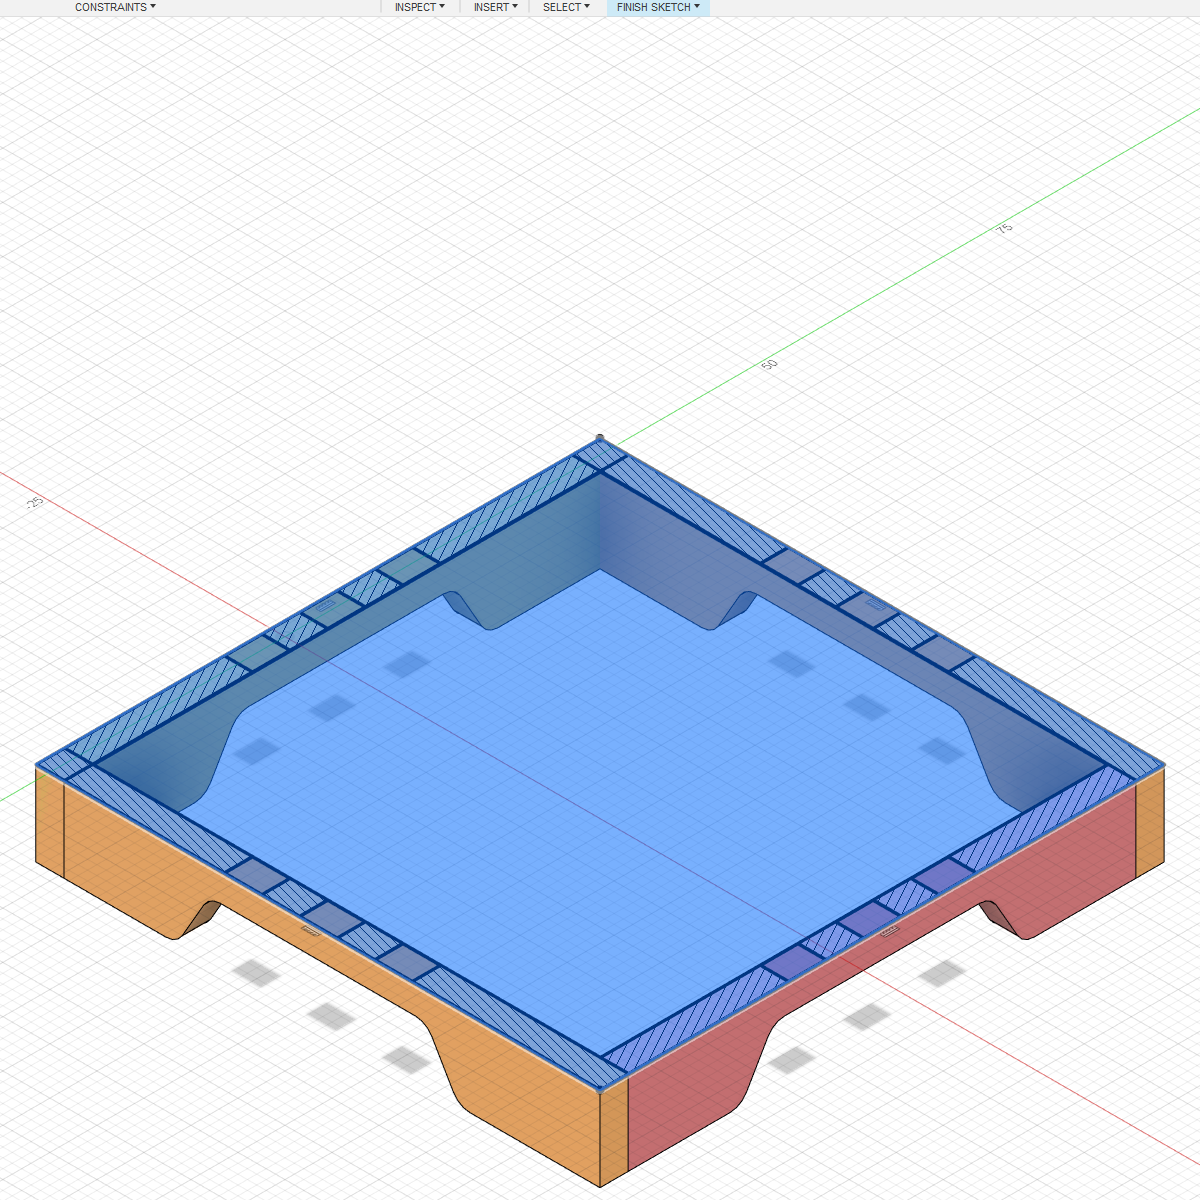
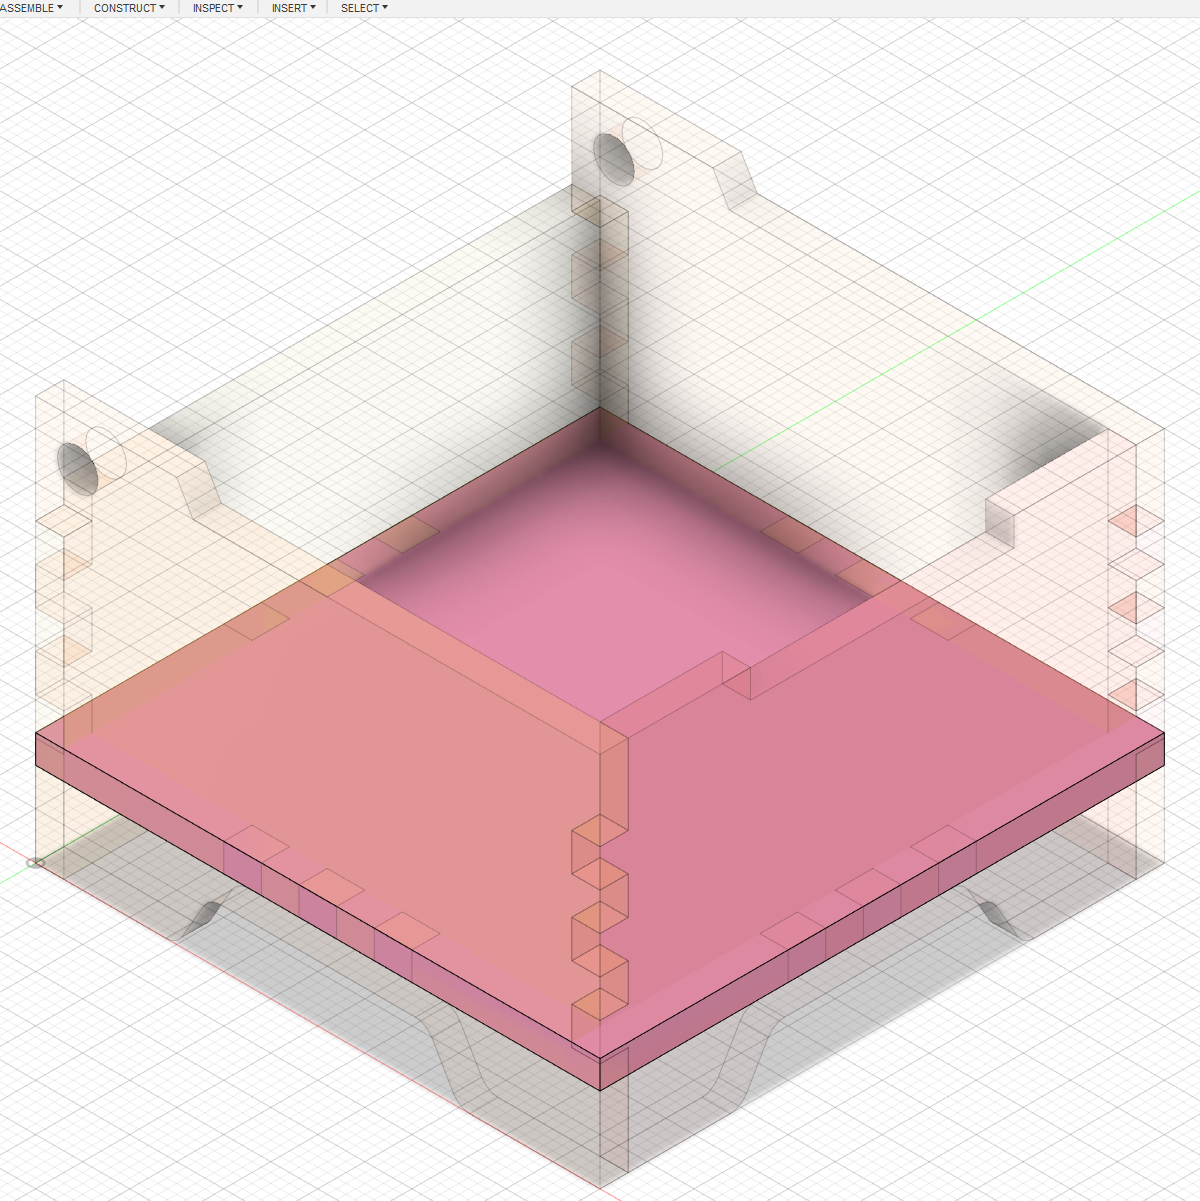
A construction plane is used on the bottom surface area of the tabs to make the bottom piece. A rectangle is sketched and constrained onto the edges of the other pieces. It was then extruded to thickness, intersecting onto the existing sides.
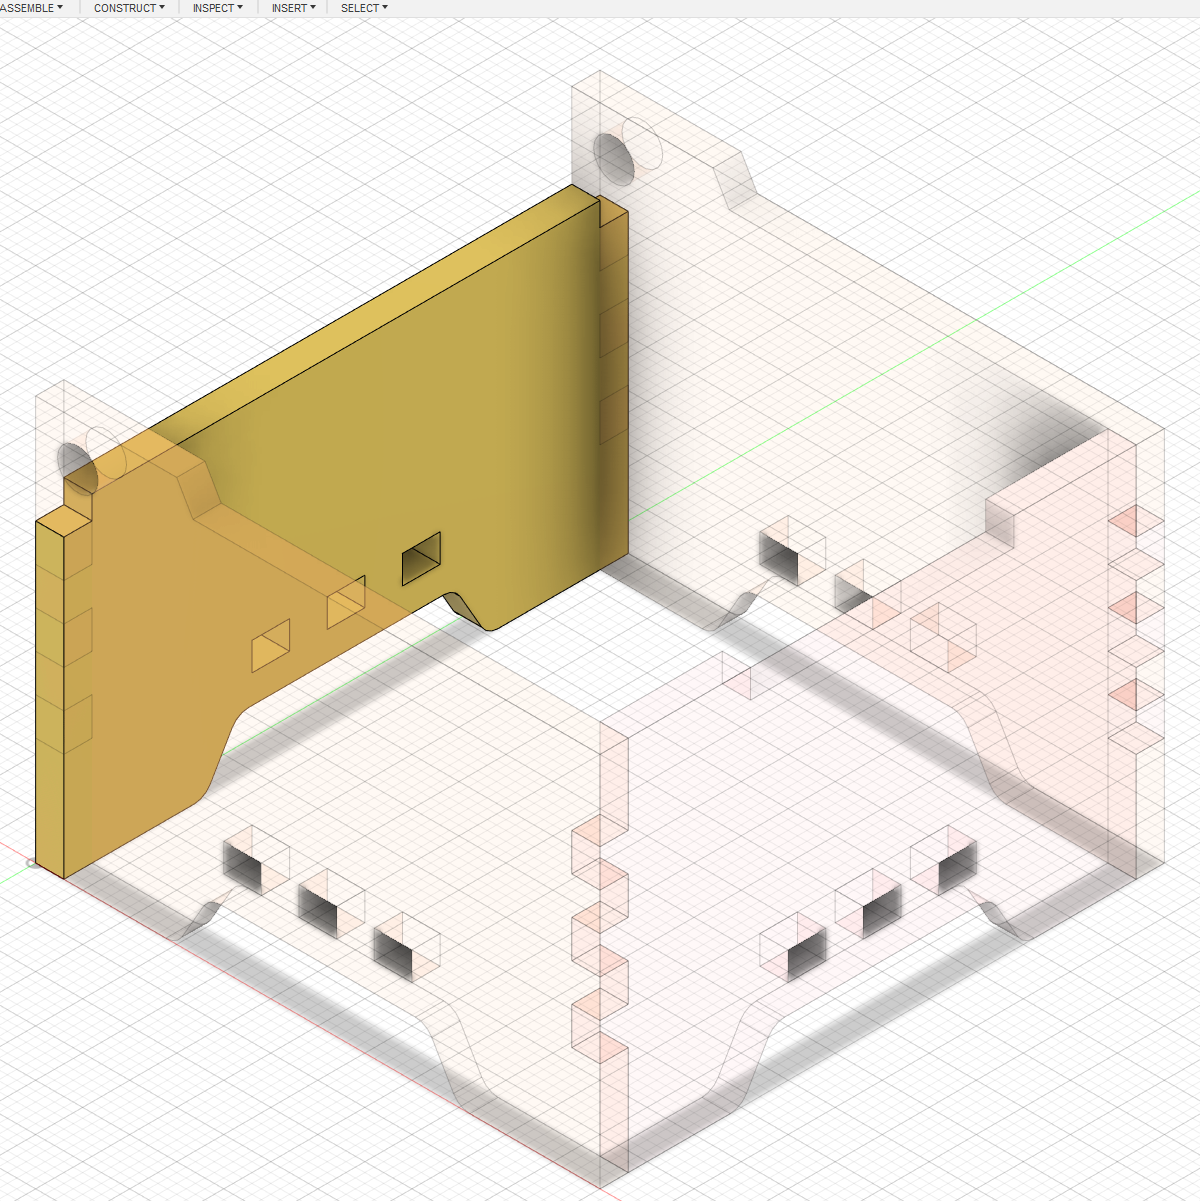
 Combine Bottom
 Bottom Final
The combine tool to cut out the tabs with existing pieces as tool bodies.
 Top Plane
 Top Sketch
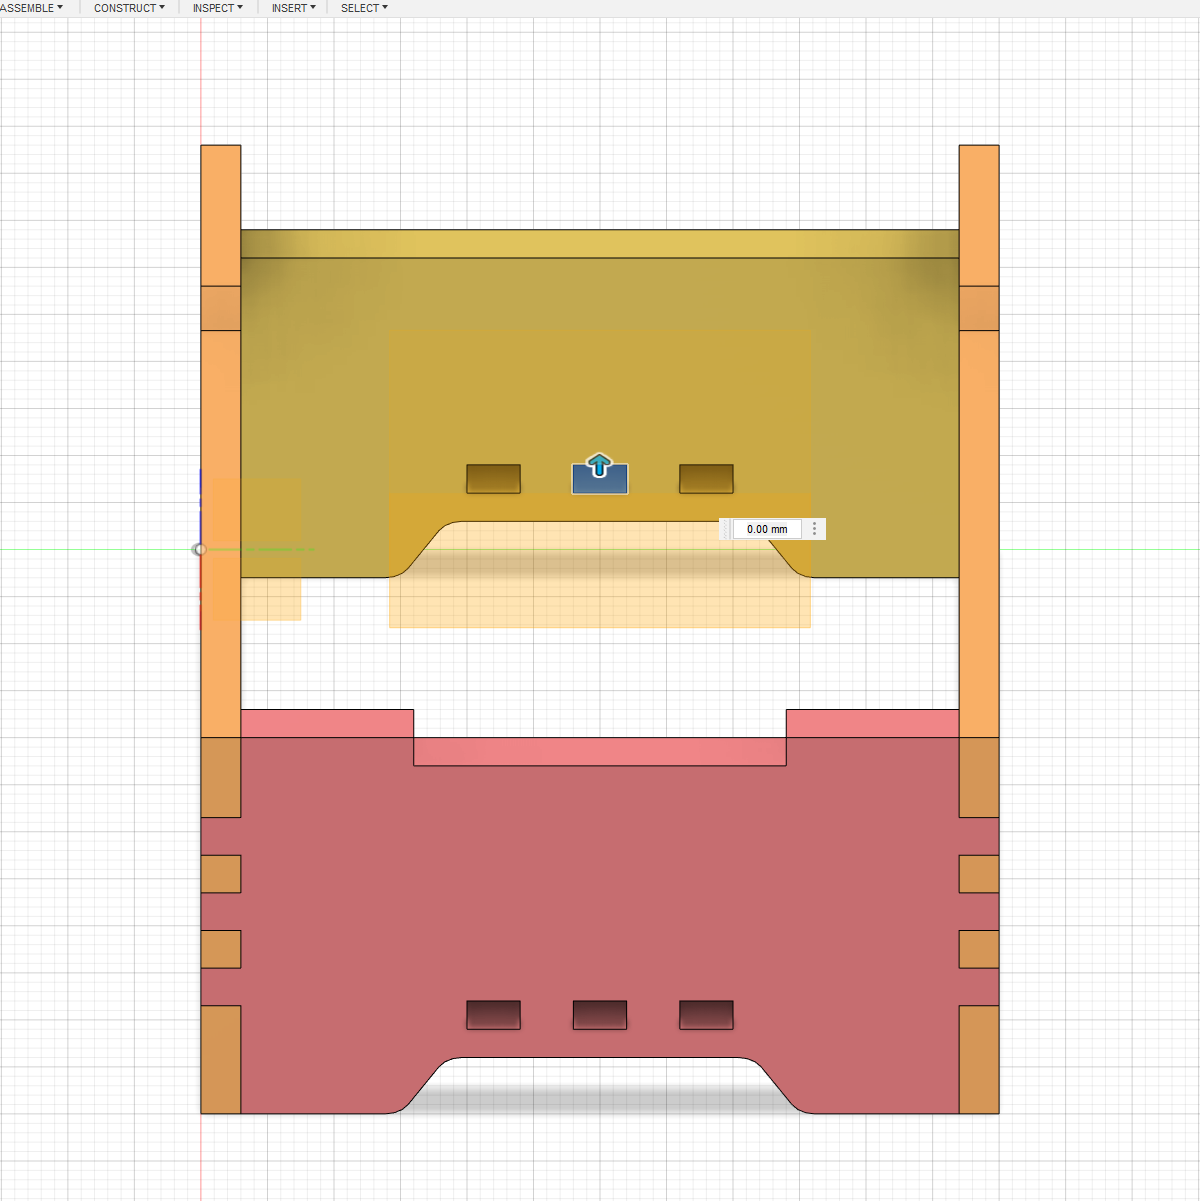
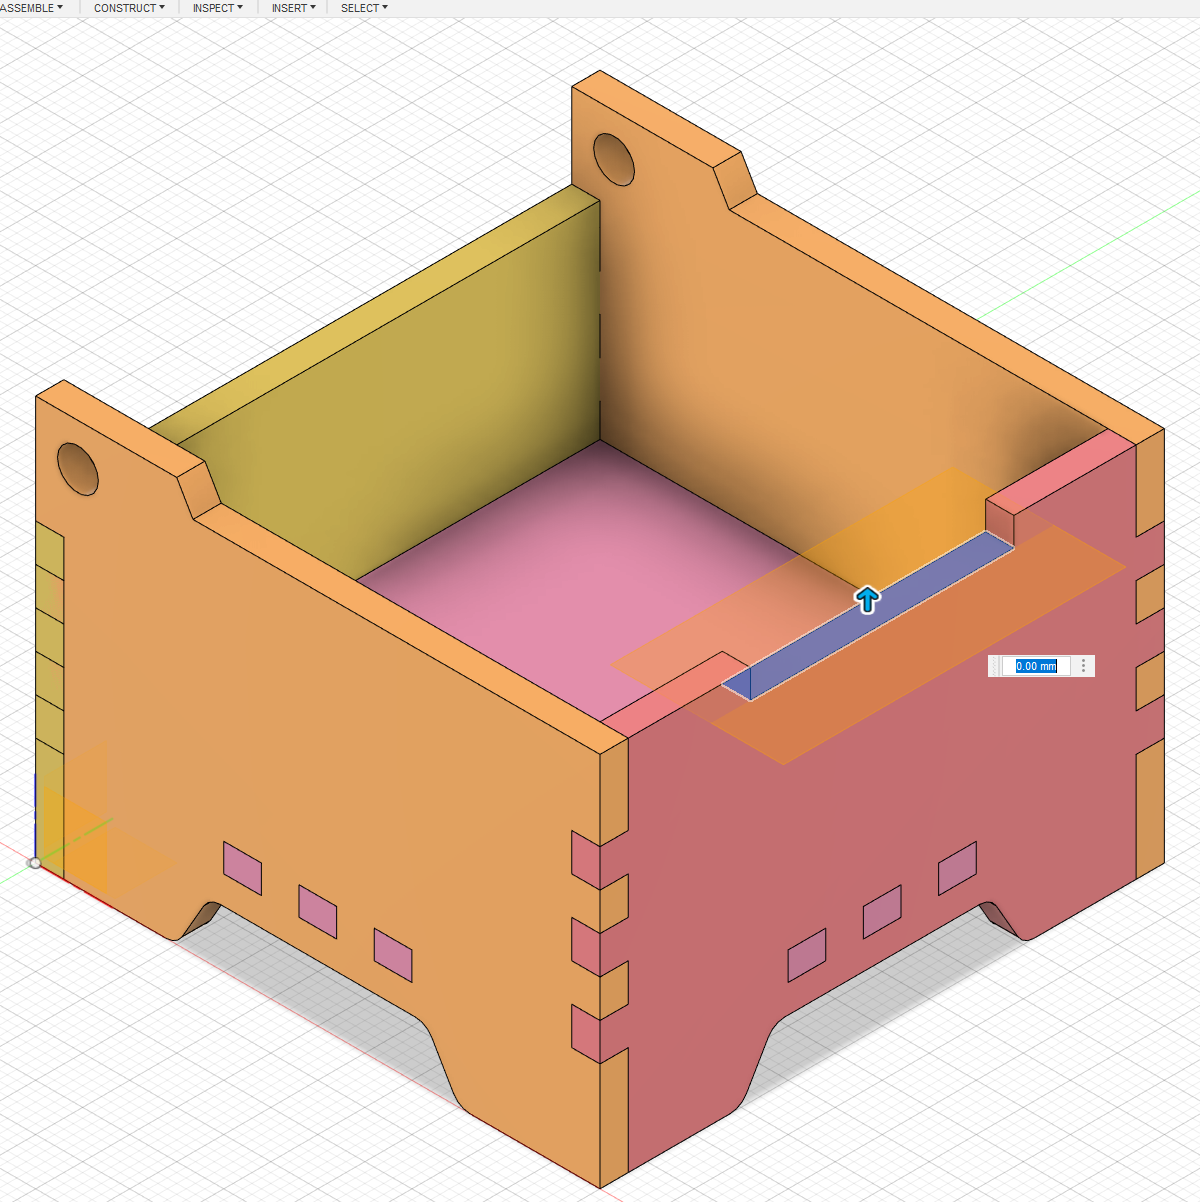
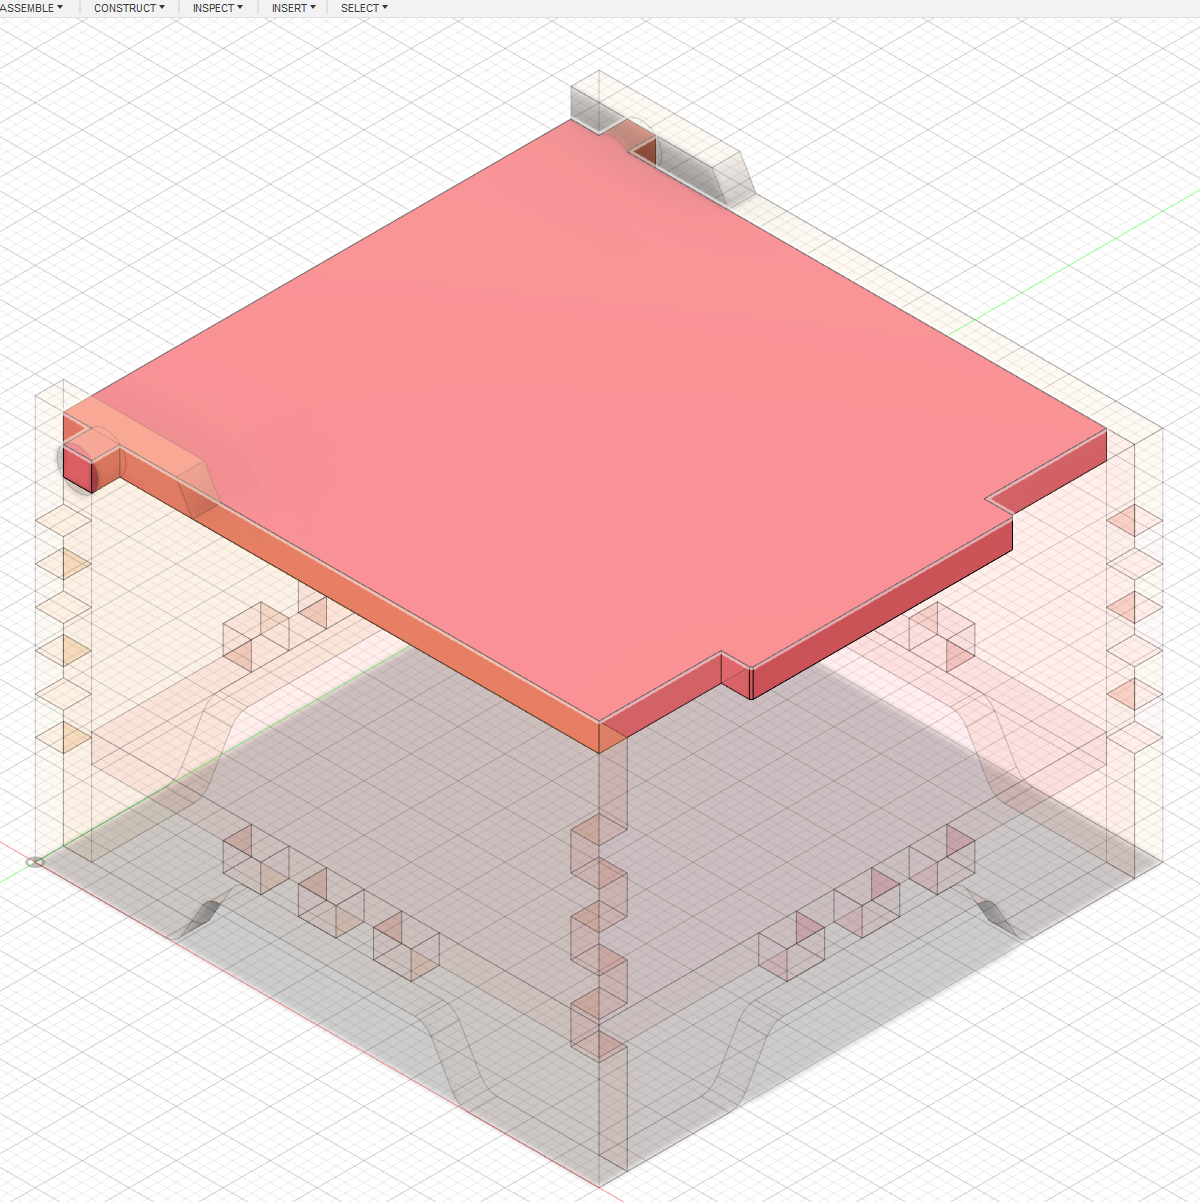
Another construction plane is used on the cutout area of the front piece. The process to make the top piece can be done similar to the bottom piece.
 Hinge
Hinge
 Lid
Lid
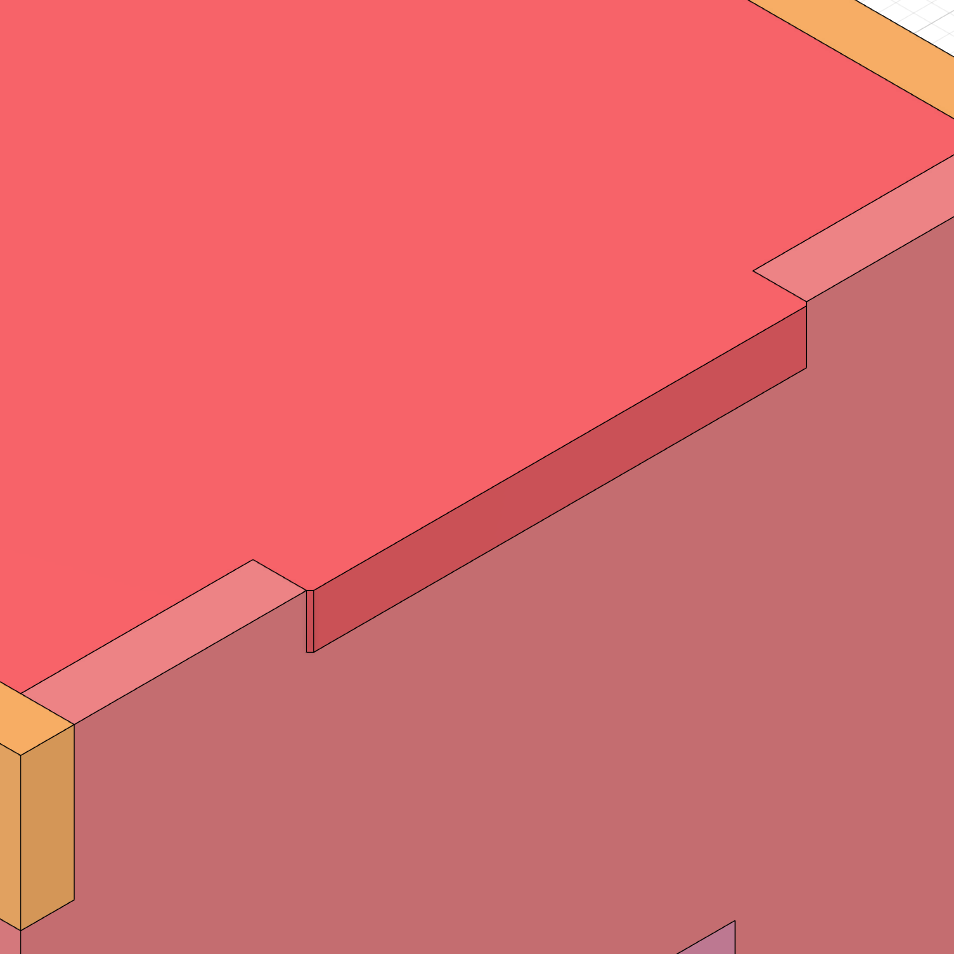
A closer inspection of the top piece, the hinge has to be 3mm in length. Notice that there is a small gap between the hinge and the hole because of 0.05mm offset from the side piece. The top piece has a small protrusion so that opening the lid is easier.
 Top Extrude
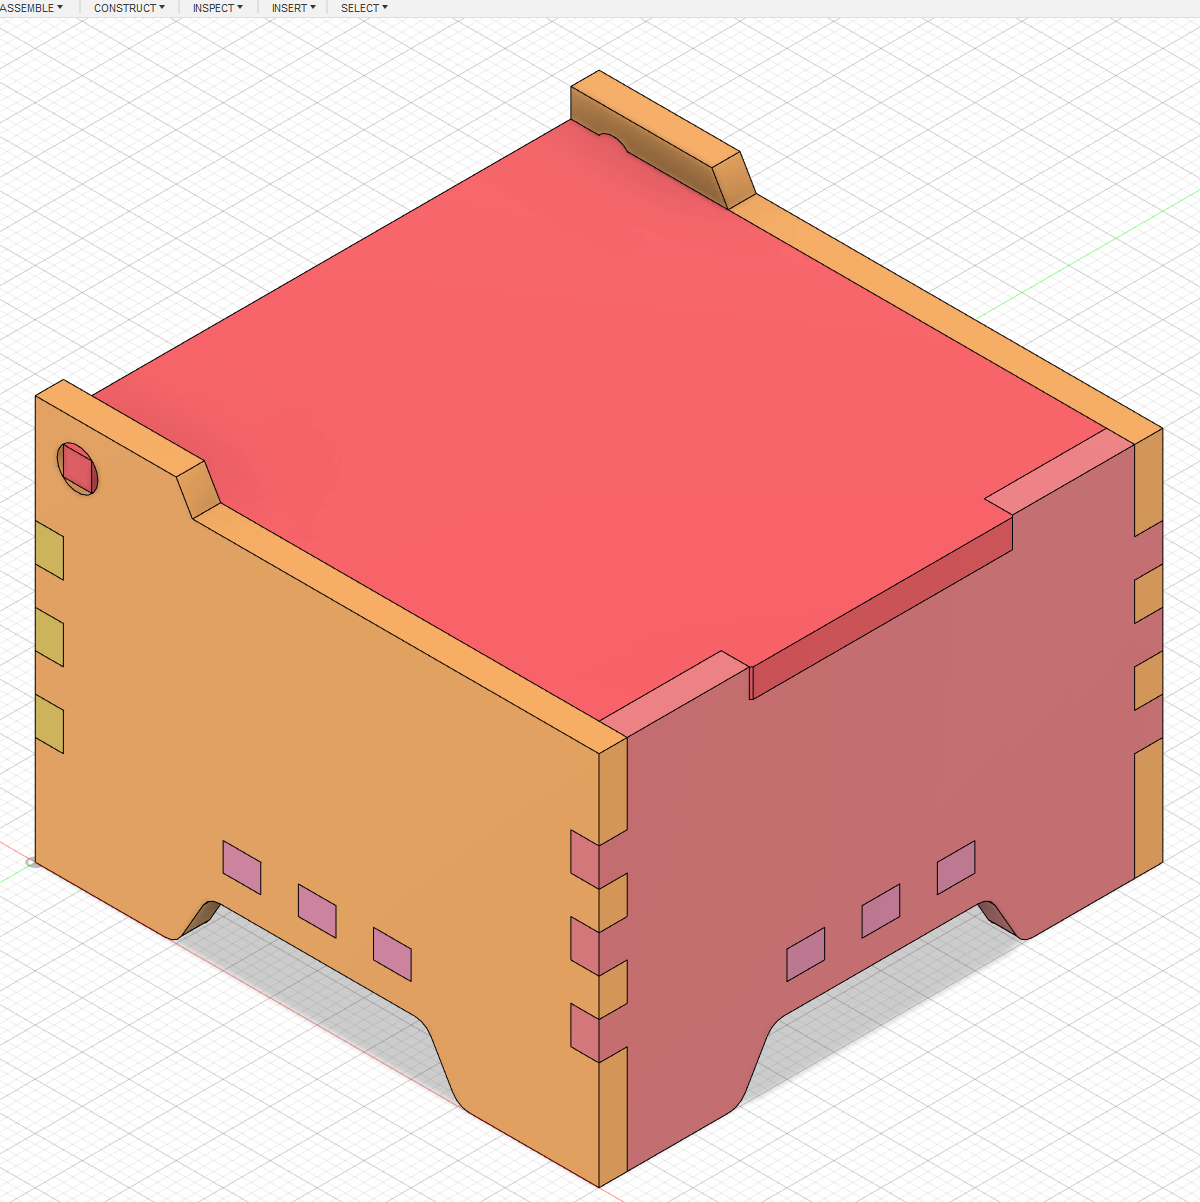 Music Box Completed
The music box is completed, time to add engravings to it.
Laser Cutting
The Music Box Pieces are exported as DWG files and opened in CorelDraw to laser cut. The japanese wave image is exported as PNG file in CorelDraw to engrave. The following are the machine settings:
 Music Box Laser Cut
 Japanese Wave
There are a total of 6 pieces to laser cut. The image chosen has to be black and white for the laser cut to engrave properly. Preferbly, a clear transparent background image will be ideal for engraving, otherwise the power will have to be adjusted for coloured backgrounds if you might not want the laser cutter to make a section of the wood darkened.
What happened
The final laser turned out to be of the right size to fit the music crank inside. It was at first hard to fit the pieces together as there were no tolerance in tabs. Since the music box is laser cut using 3mm plywood, the tabs will compress overtime and make assembly easier.
The engraved image turned out to be beyond my expectations as it look very good in detailed.
Open image in new tab to enlarge the photo to see the details.
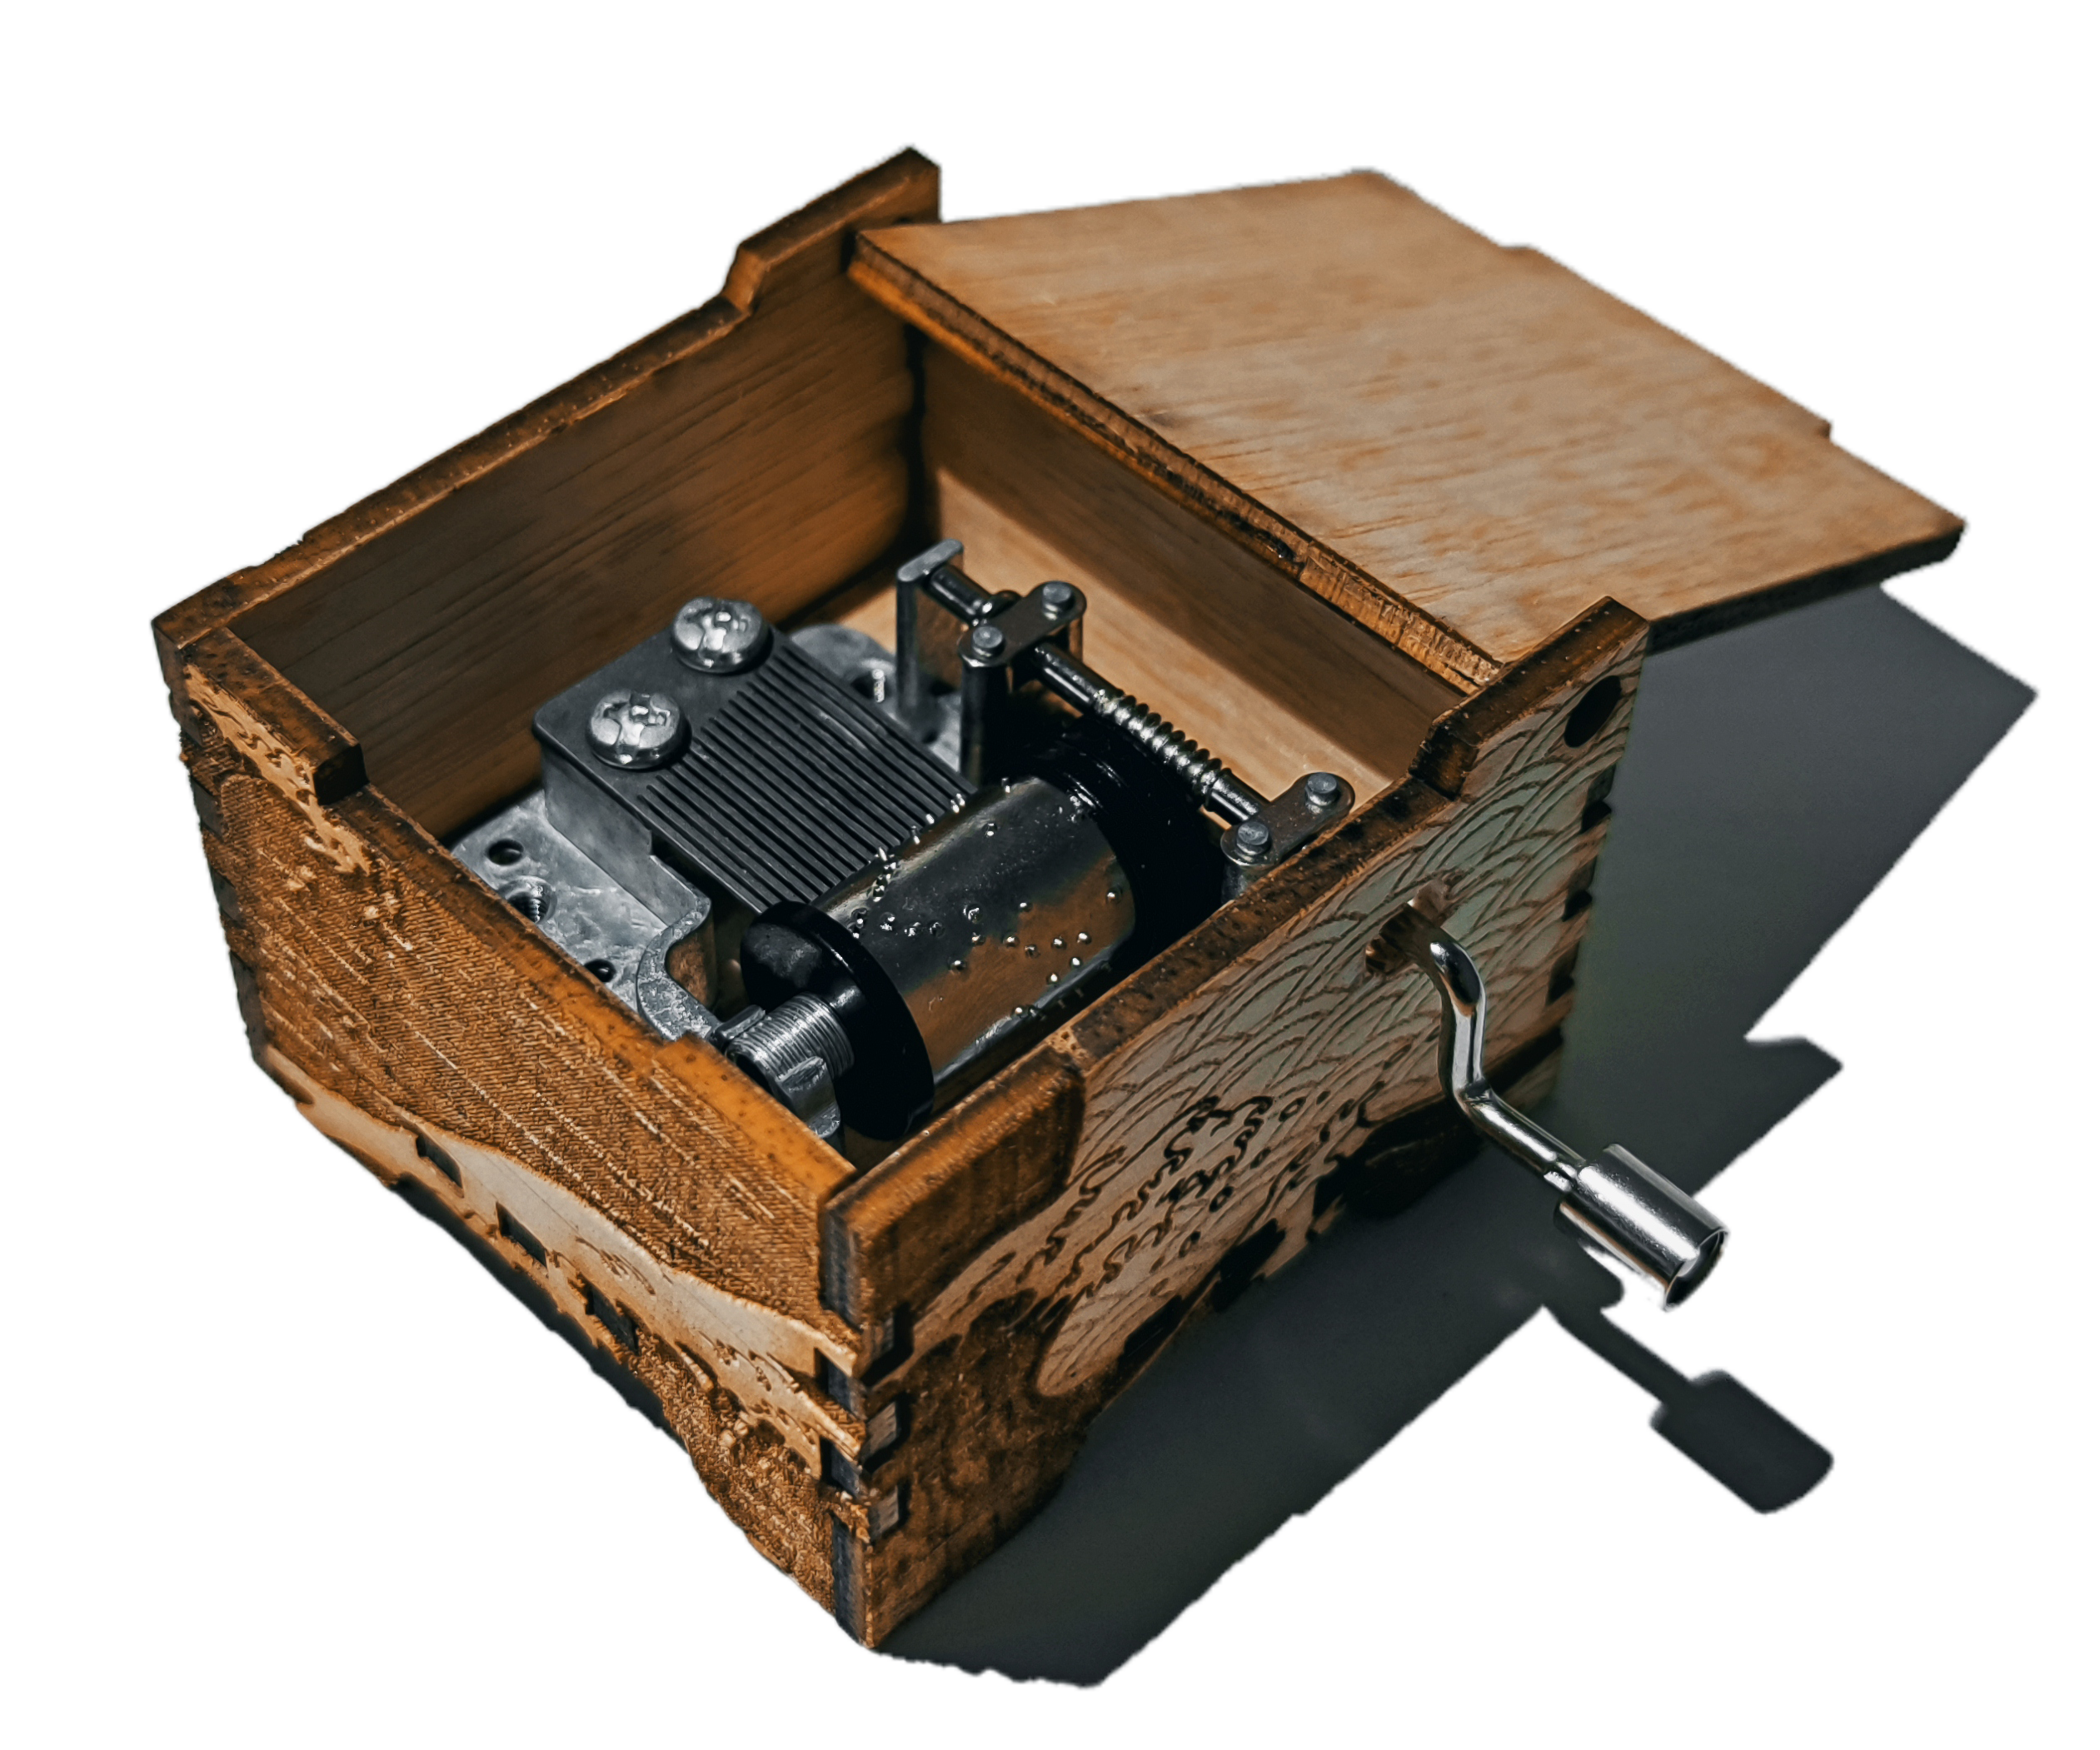
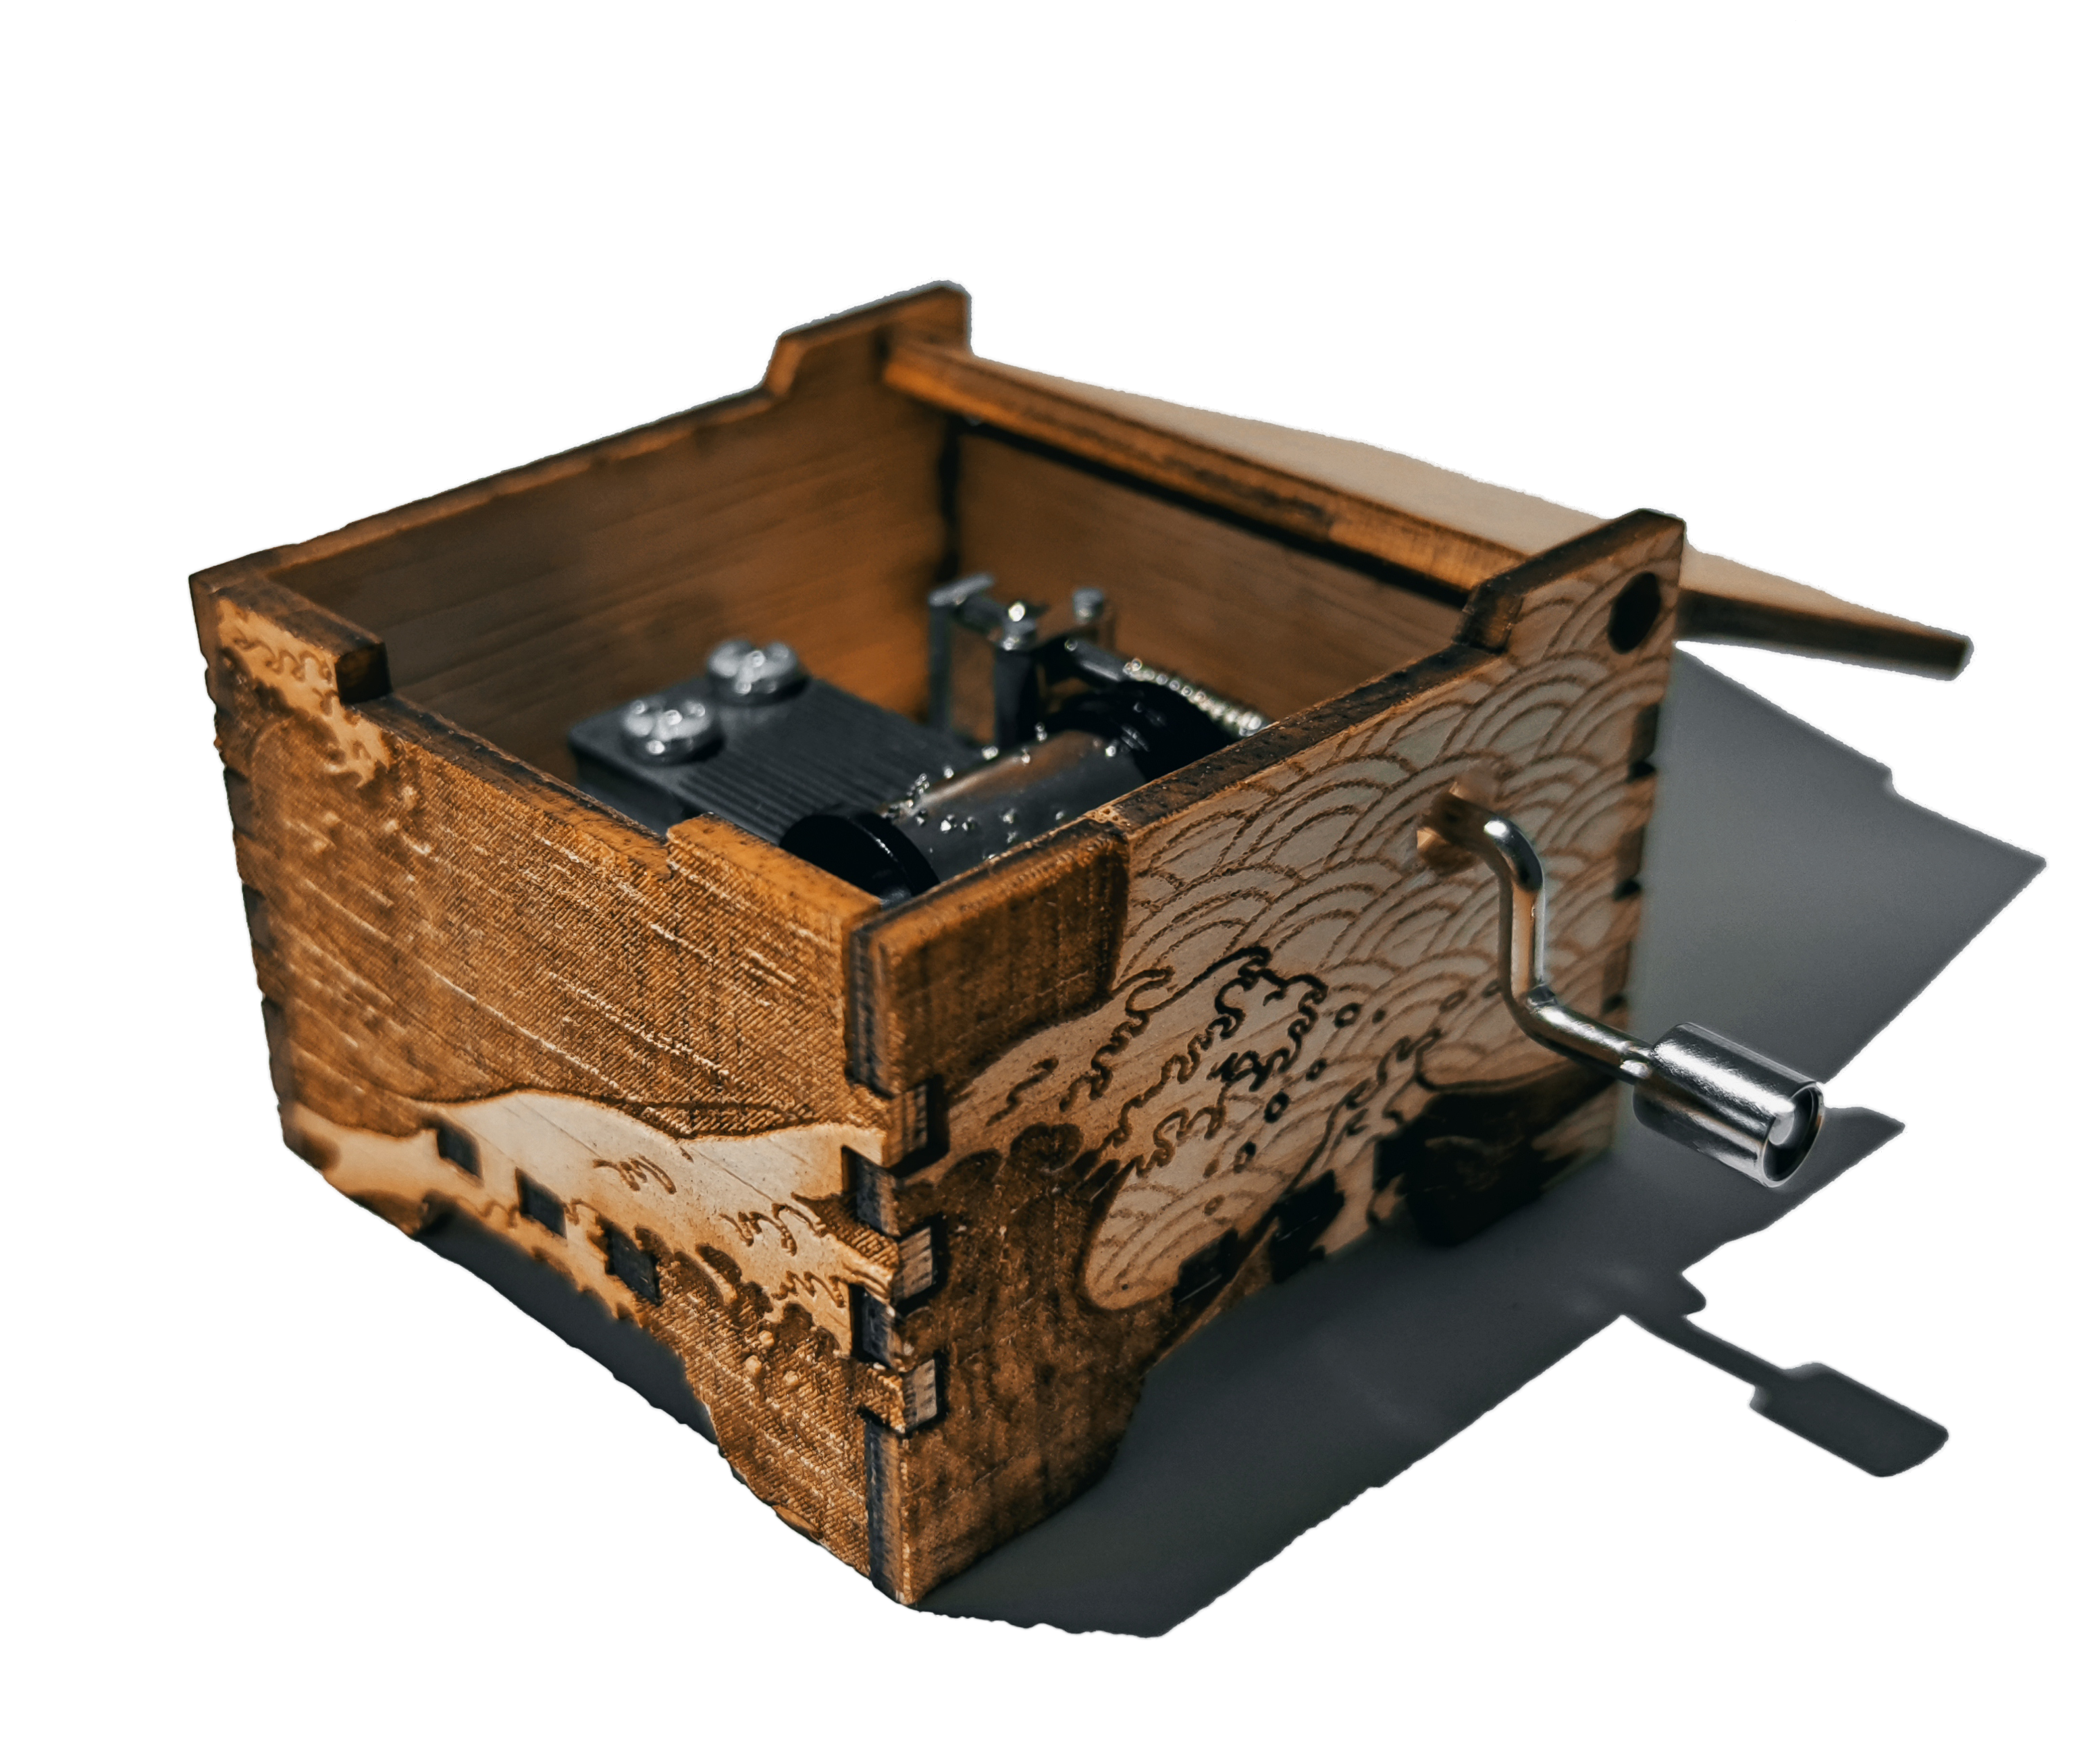 Finished Music Box
To fit the music crank, I have to manually hand drill the side piece using a 6.5mm drill bit. Then I slide the side piece through the handle and into position. I use hot glue and stick the music crank onto the base and leave it to harden. Lastly, I fit the rest of the pieces together. I need not have to use wood glue to stick the piece together since they were a tight fit altogether.
How to improve
In general, I feel a 60x60x40mm music box might is the perfect size for fitting the music crank inside.