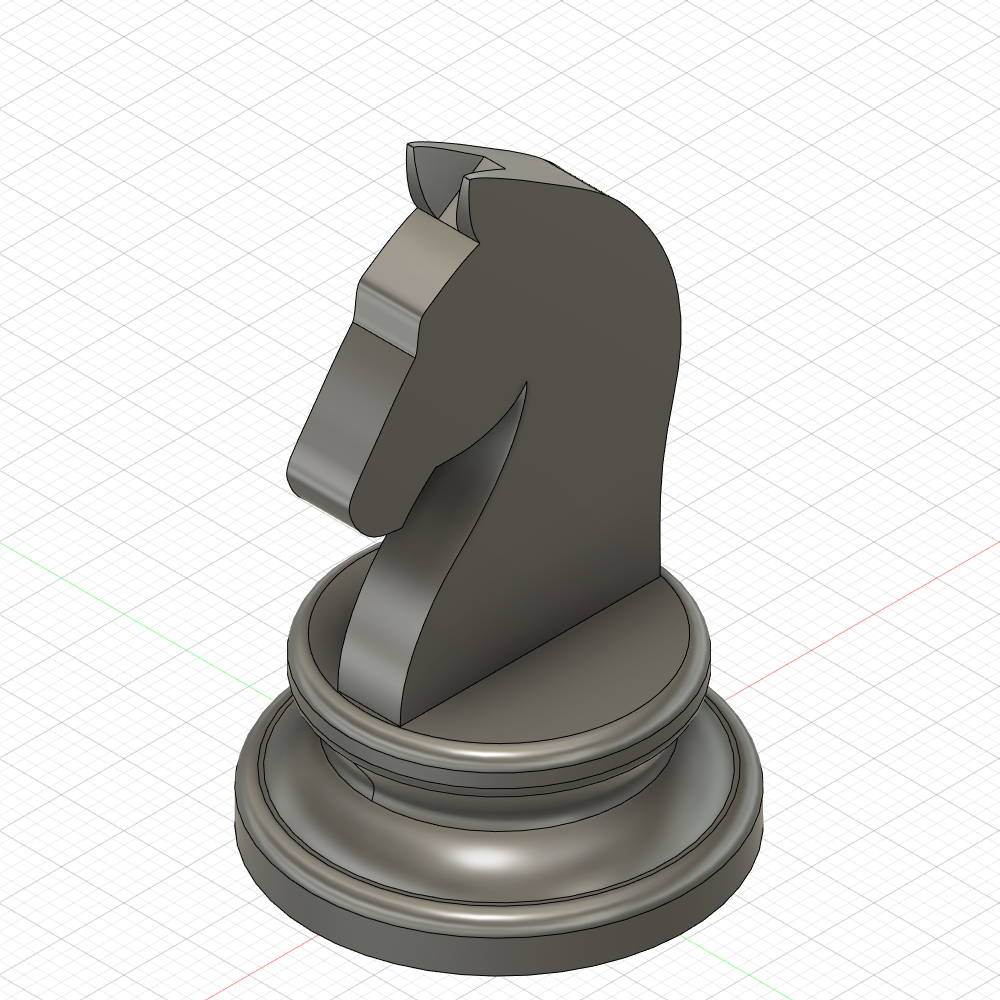
We are to model our own 3d model of a knight chesspiece using Fusion 360. First, an image from the internet is inserted as a canvas in Fusion 360. I can use this image as reference to make my model. Here are the requirements for the chesspiece:
Base Dimensions
30mm Diameter50mm Height
Head Dimensions
5mm Thickness
3D Models
Base Sketch
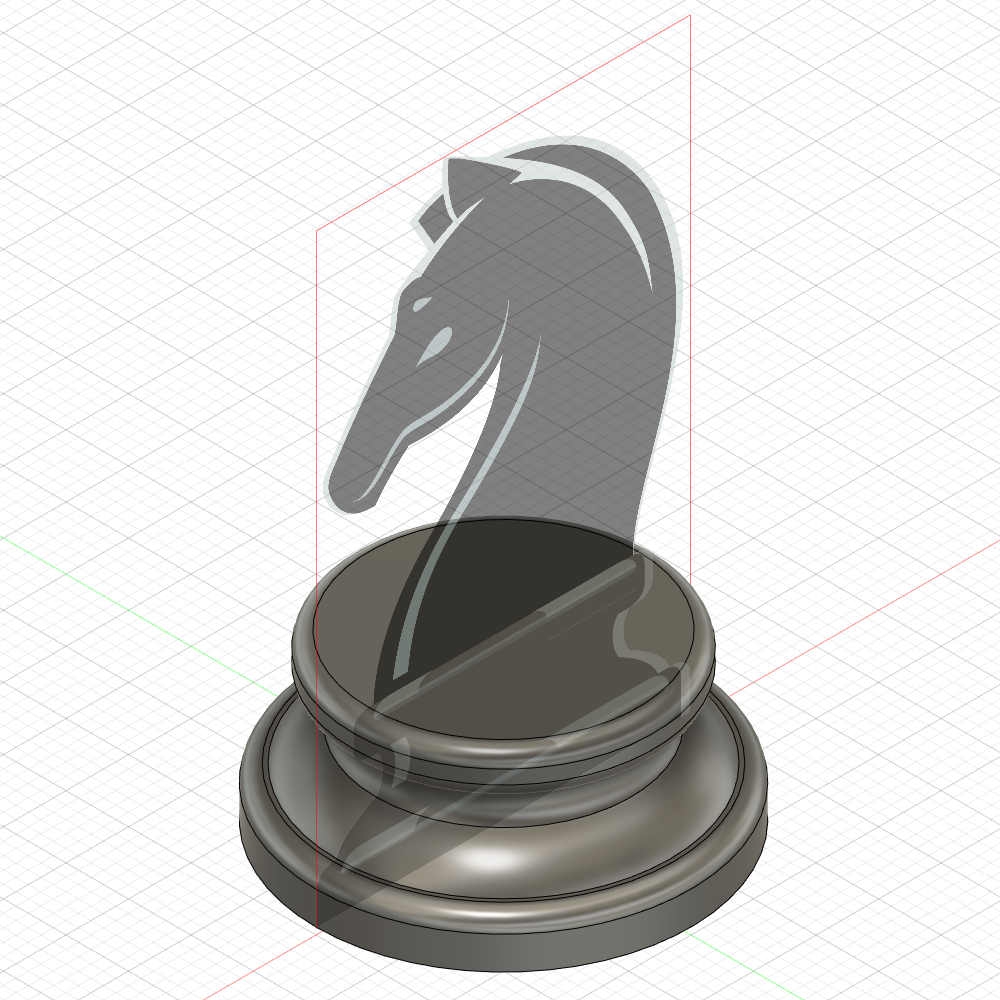
Base Revolve
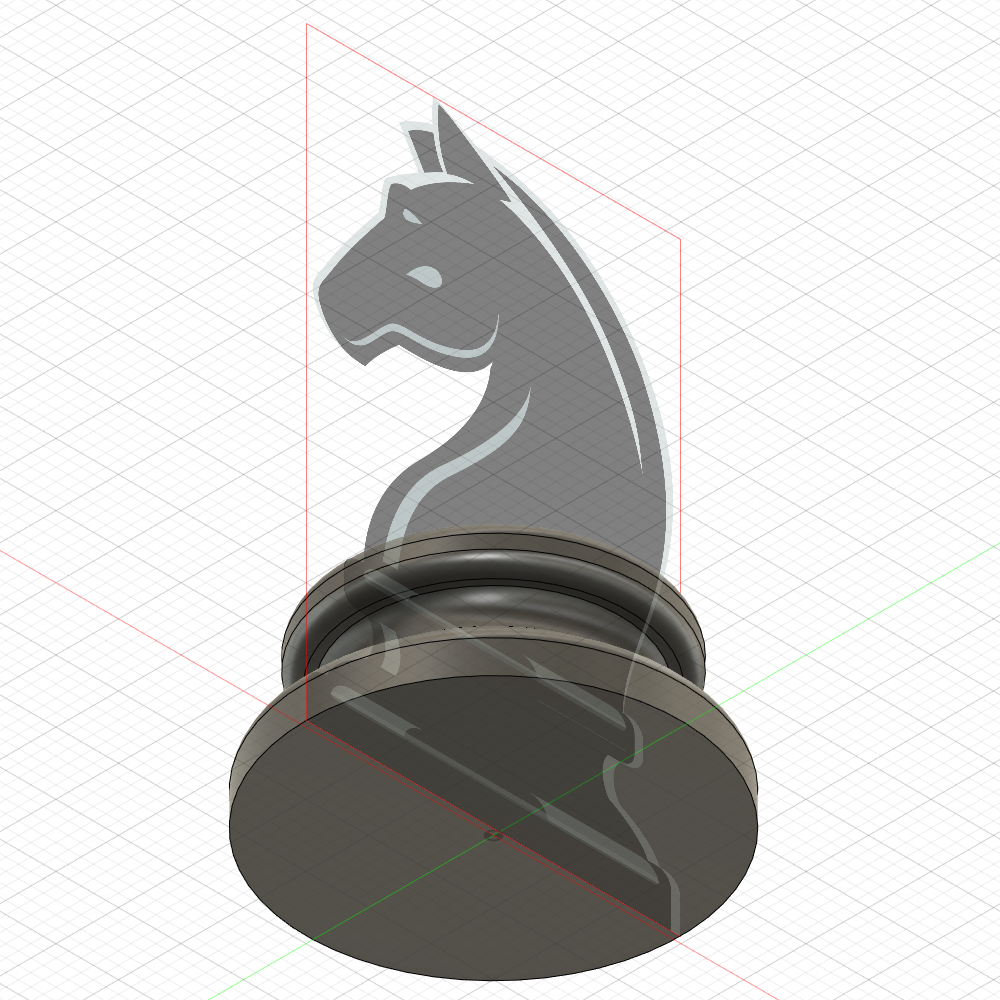
Base Bottom View
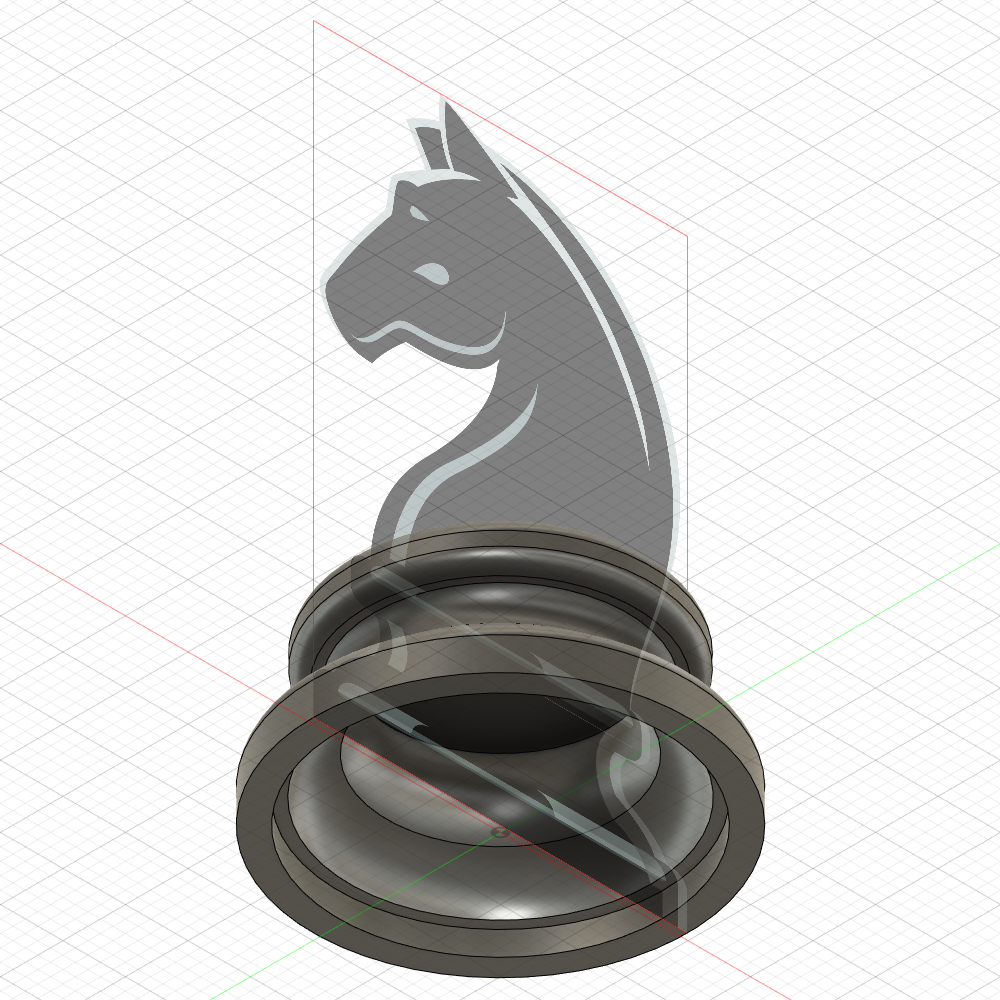
Base Shell
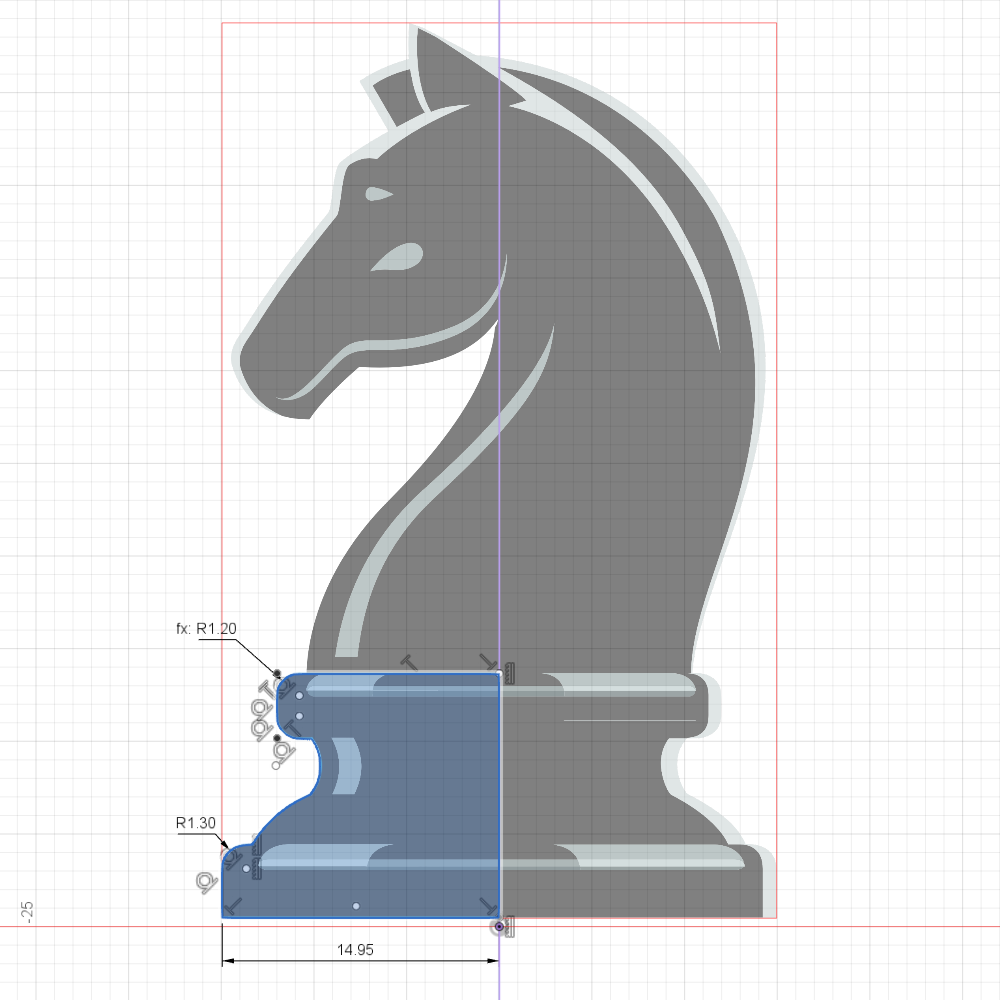
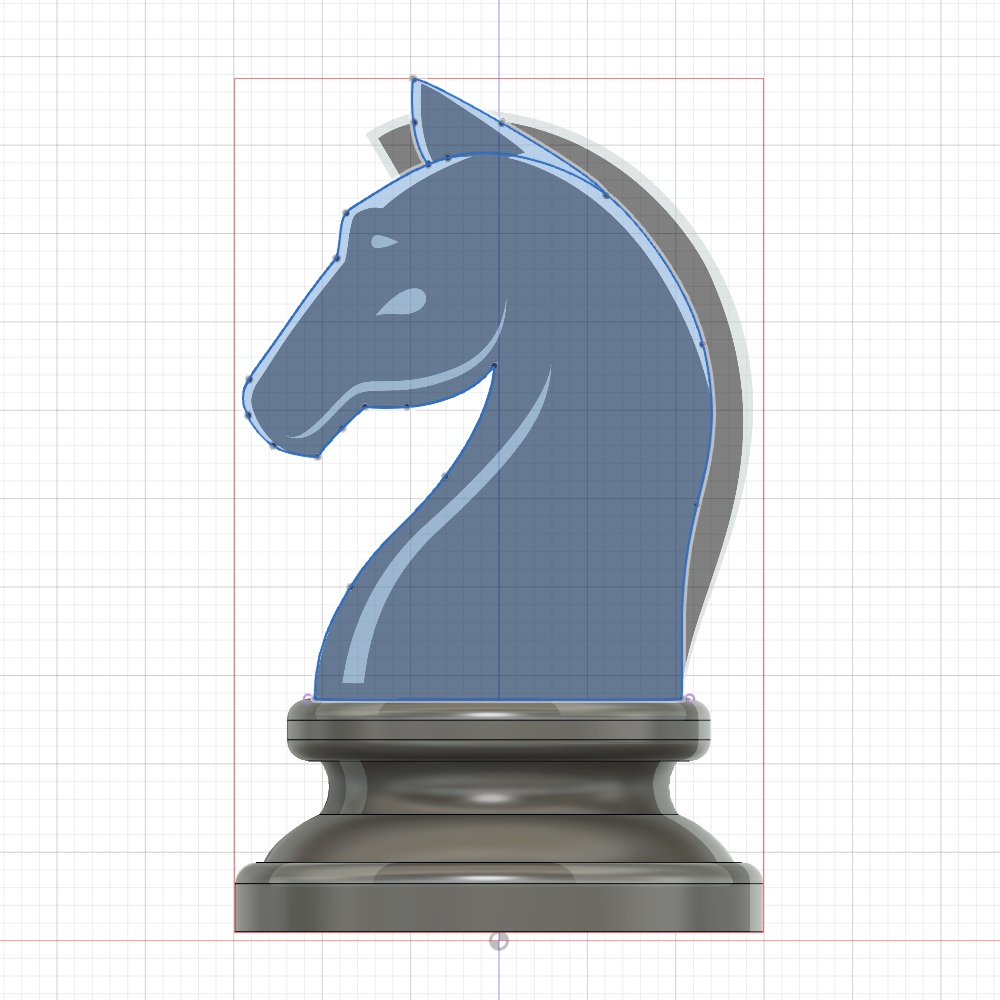
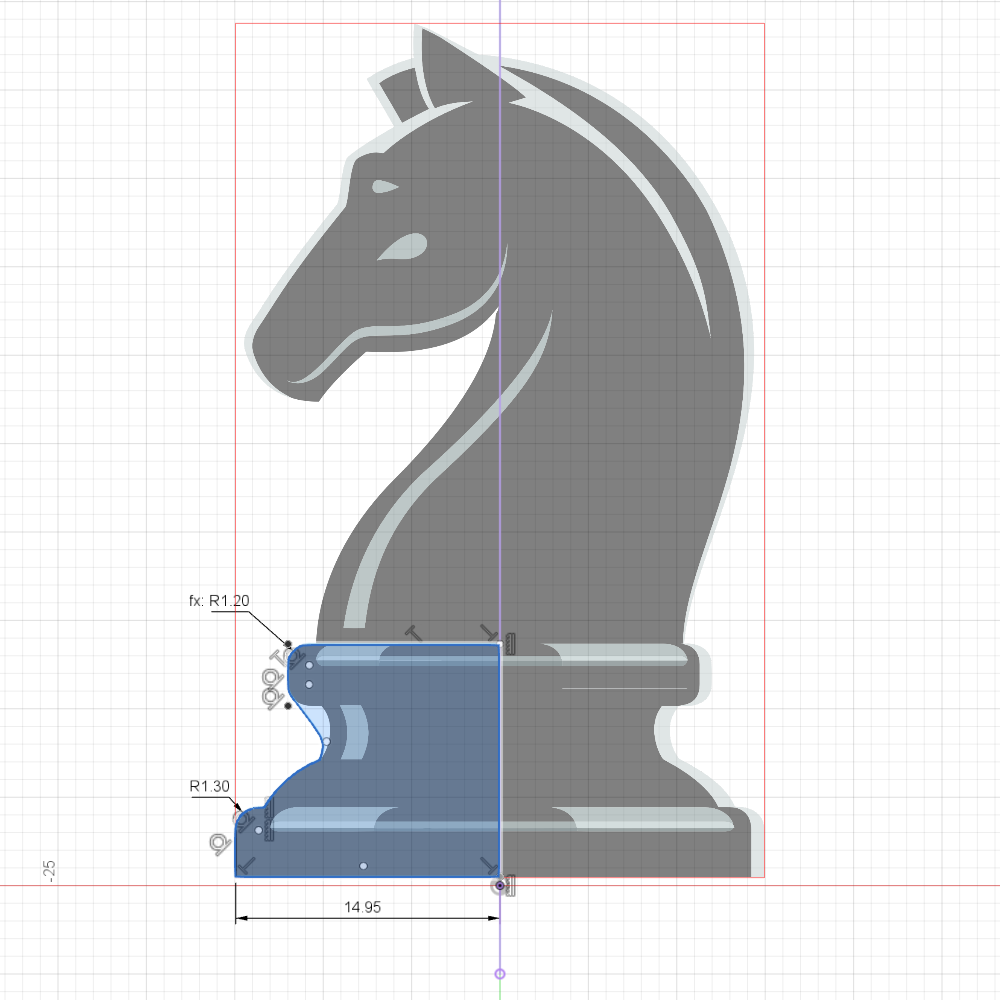
I start off by sketching the base using a lines, fillets and arcs for the curve sections of the chesspiece. The base is dimensioned to 30mm in diameter When the sketch was done, I revolved it 360° around the z-axis to create the base. Next, I shell the base with wall thickness of 2mm to achieve a hollow base.
Body Sketch
Body Extrude
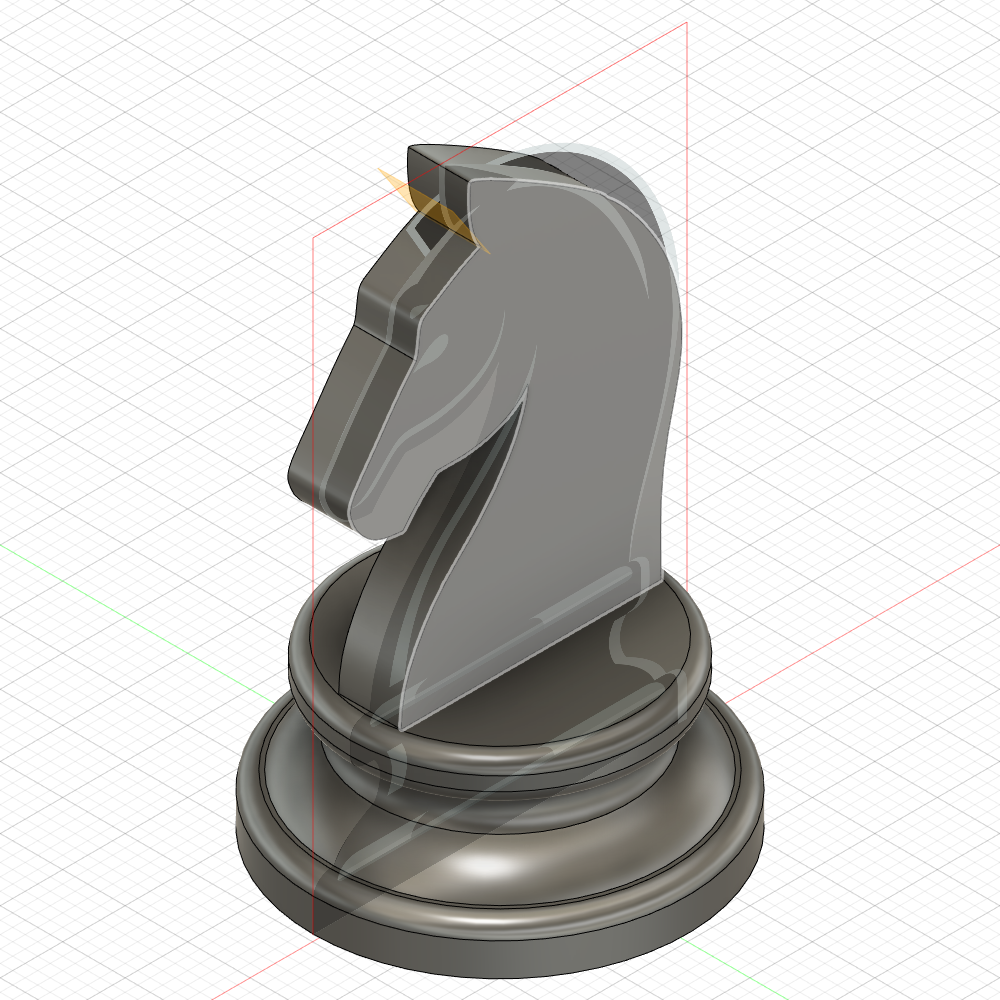
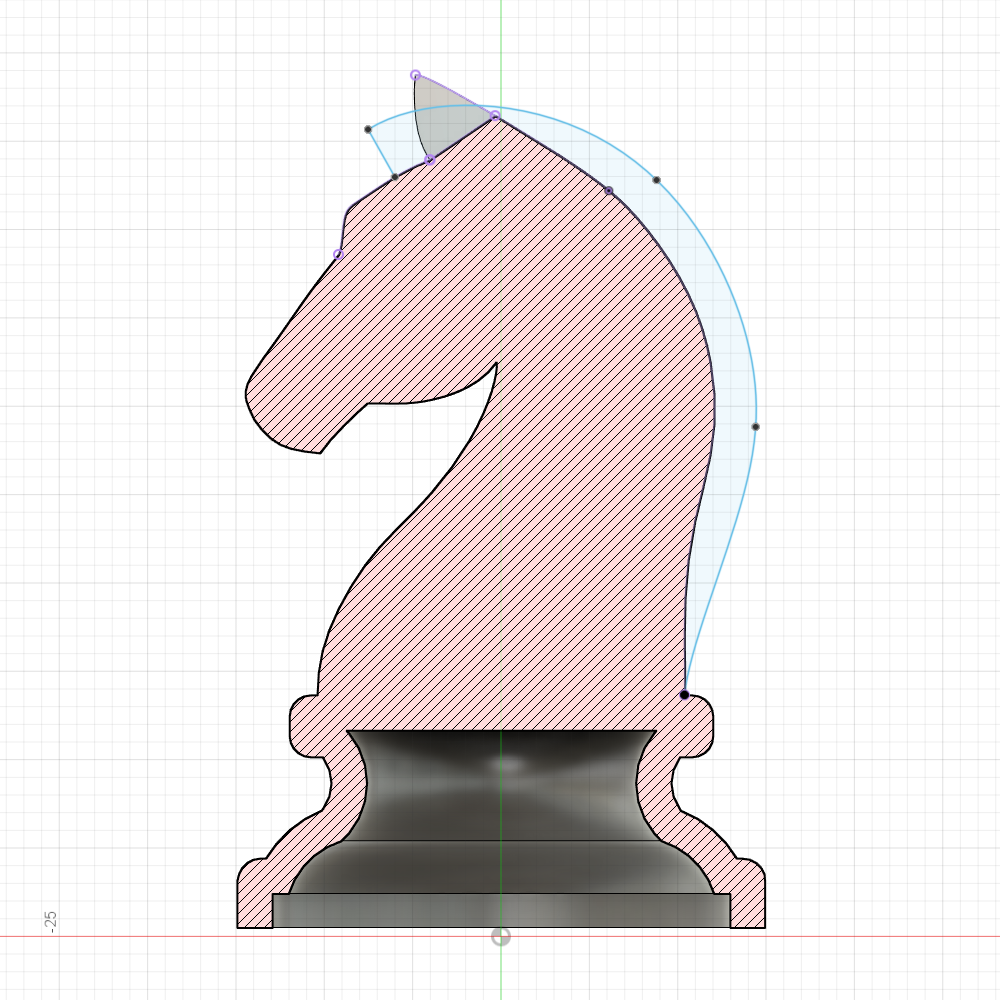
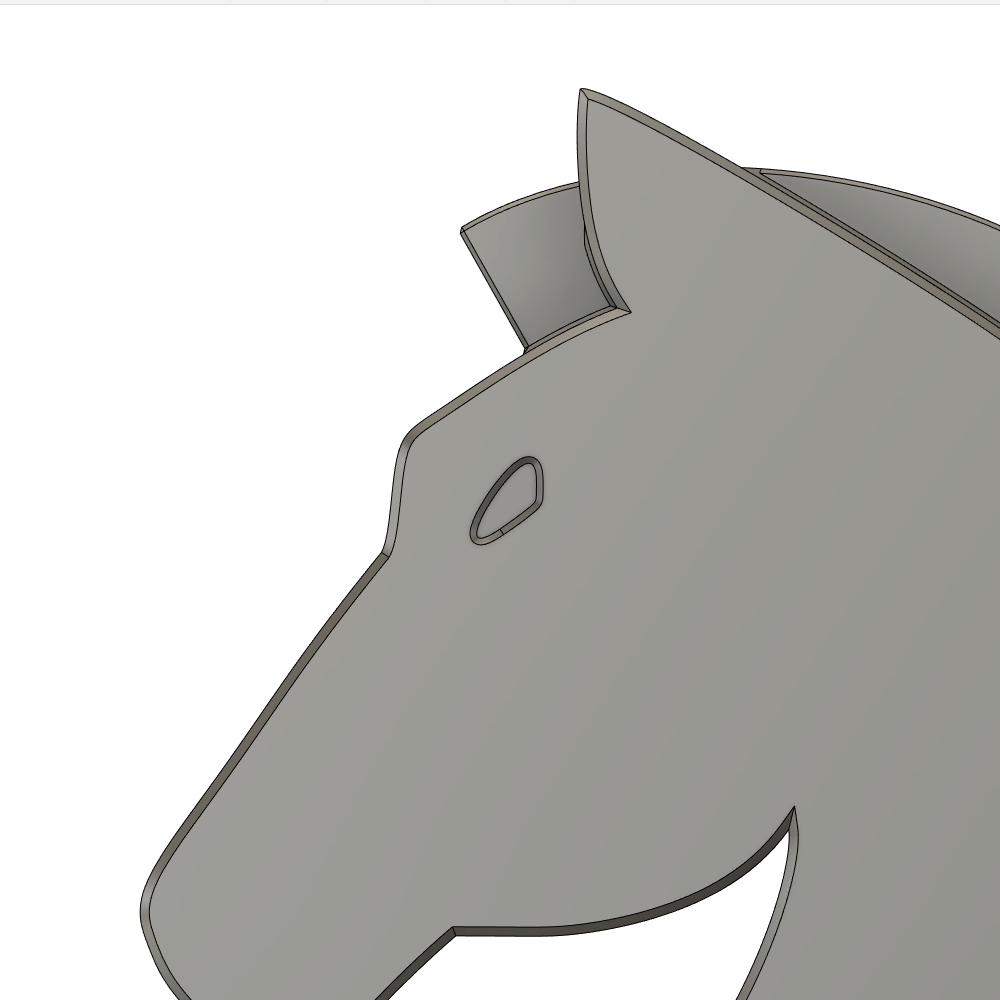
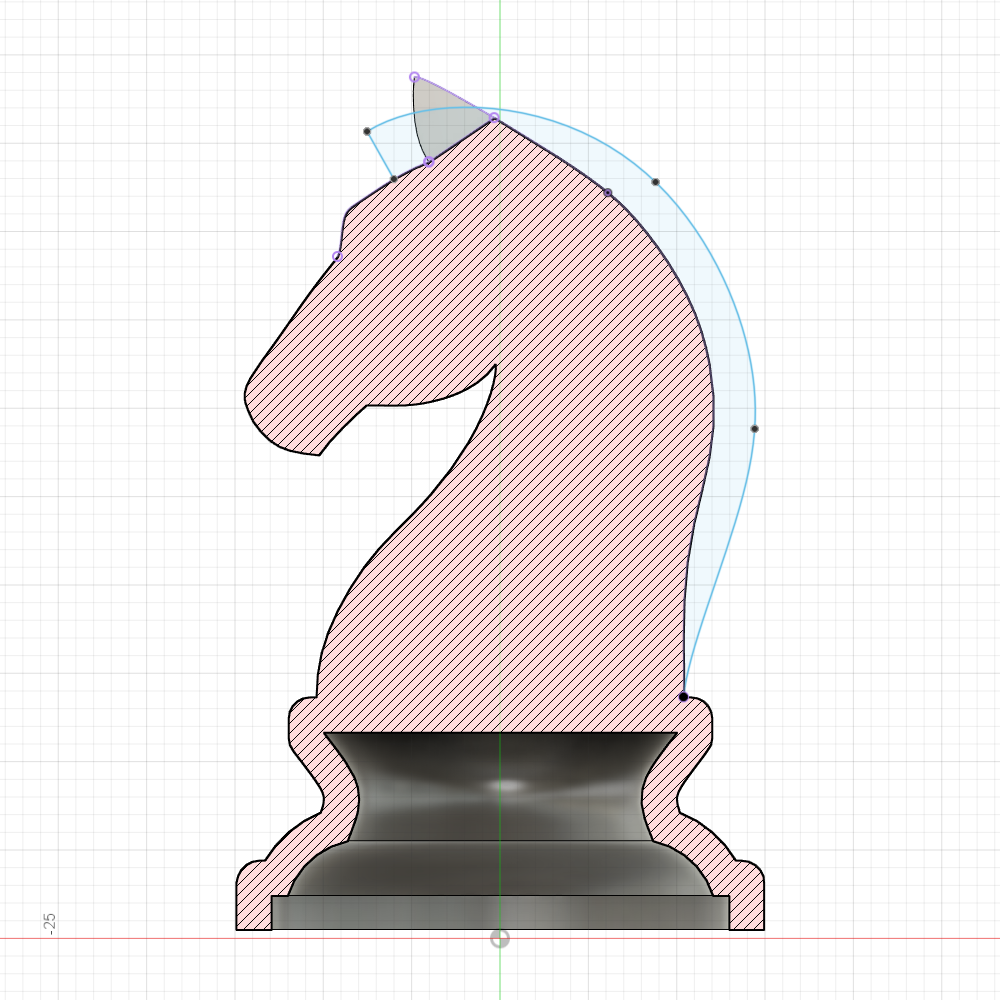
The main head of the chesspiece is made up entirely of curves lines. To sketch this, the spline tool is used to draw the outline of the head. The base is projected such that the head sketch as joined onto the points of the base. The sketch is then extruded symmetrically to a thickness of 5mm.
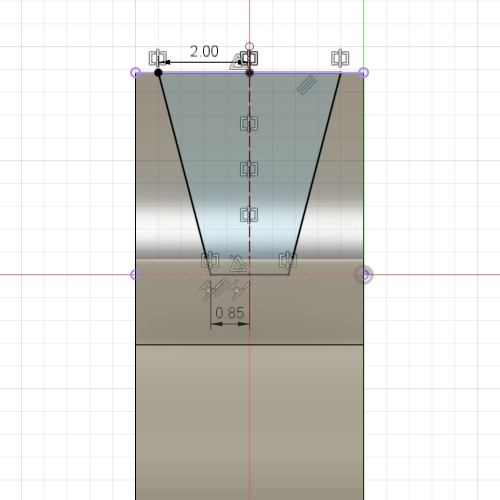
Cutout Plane
Ear Sketch
Ear Cutout
Ears Completed
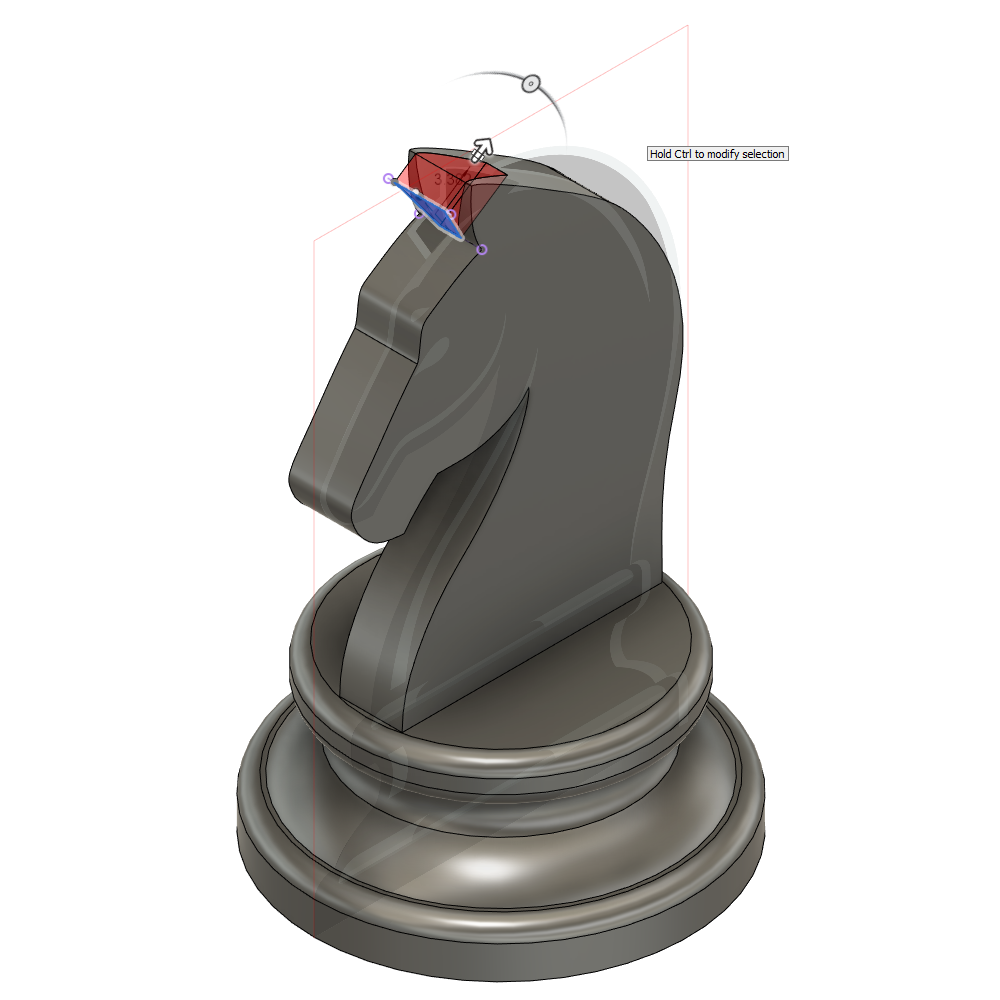
To make the ears look more realistic (2 pointed ears), a section between the left and right surface near the top needs to be cut-off. To do that, a plane is added tangential to the front side of the ears at point to make the sketch. A simple trapizium sketch is then used to cut-off through all top section of the head as shown, hence making the ears.
Mane Sketch
Mane Extrude
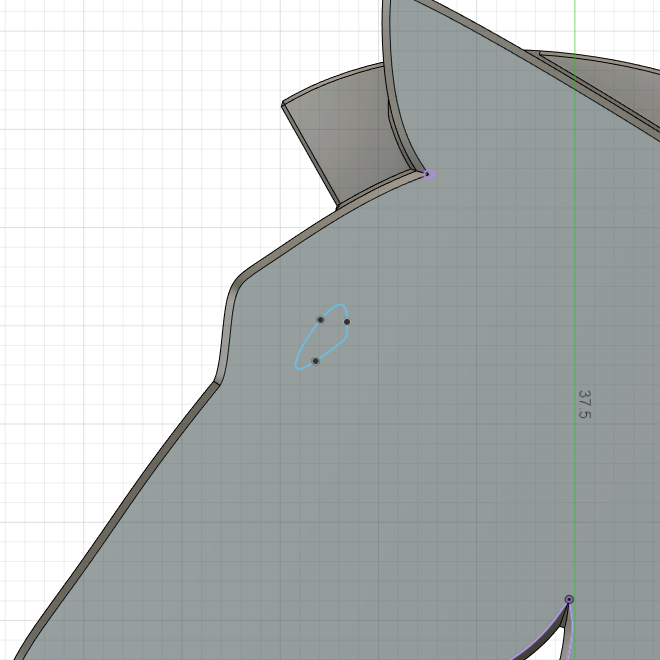
Eyes Sketch
Eyes Cutout
A few details such as the mane is sketched using the spline tool along the projected head. The sketch is then extruded symmetrically to a thickness of 2.5mm. Last but not least the knight's eyes are included.
Chamfering
Knight Completed
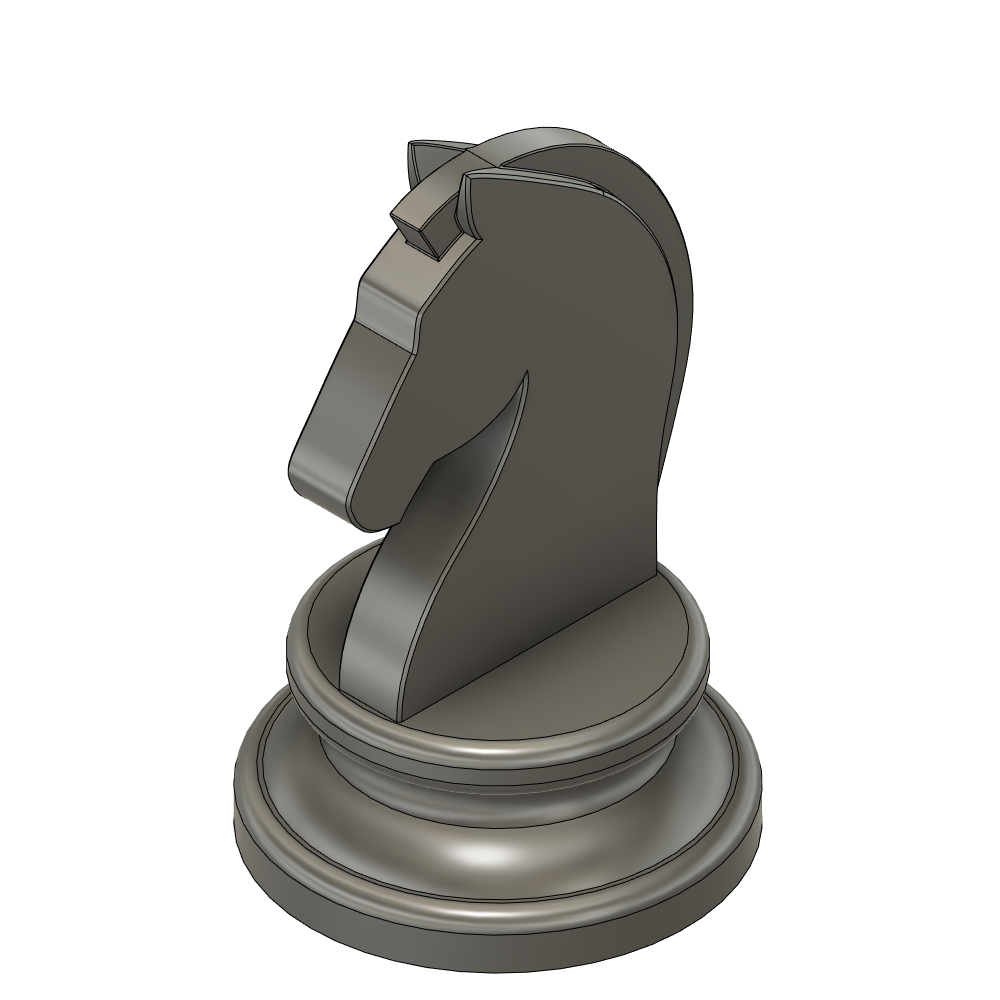
Majority of the edges of the model are chamfered using the chamfer tool.
Preparations
3D Printing
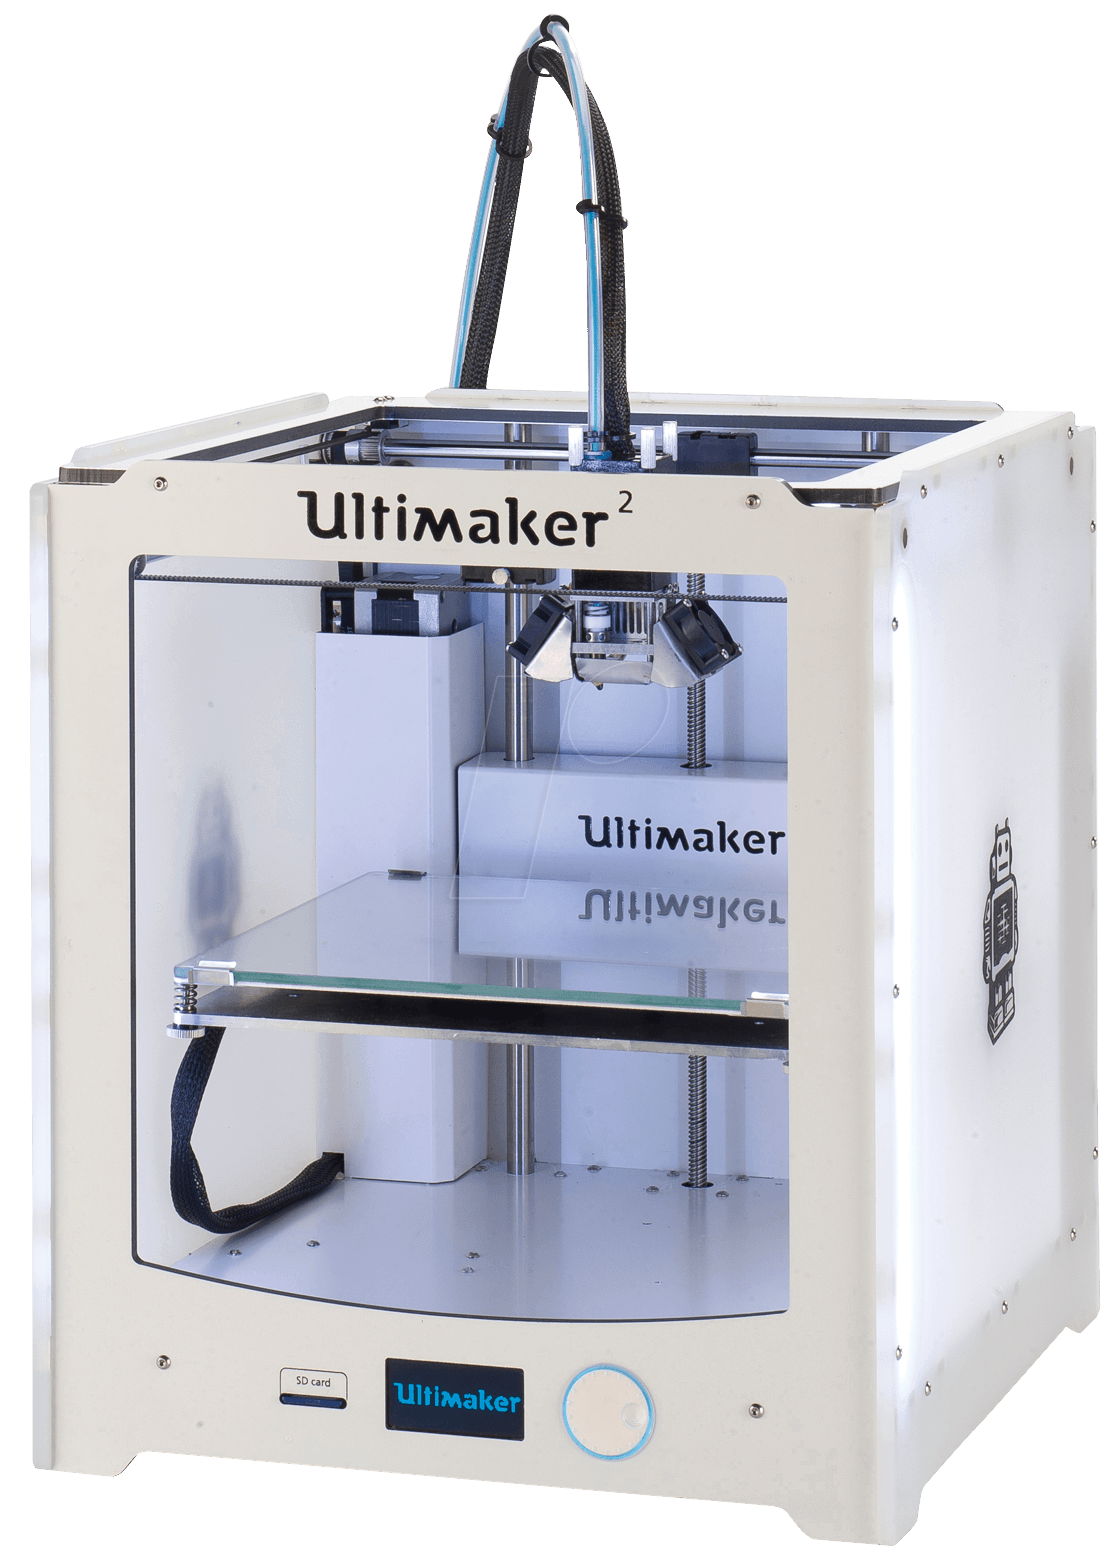
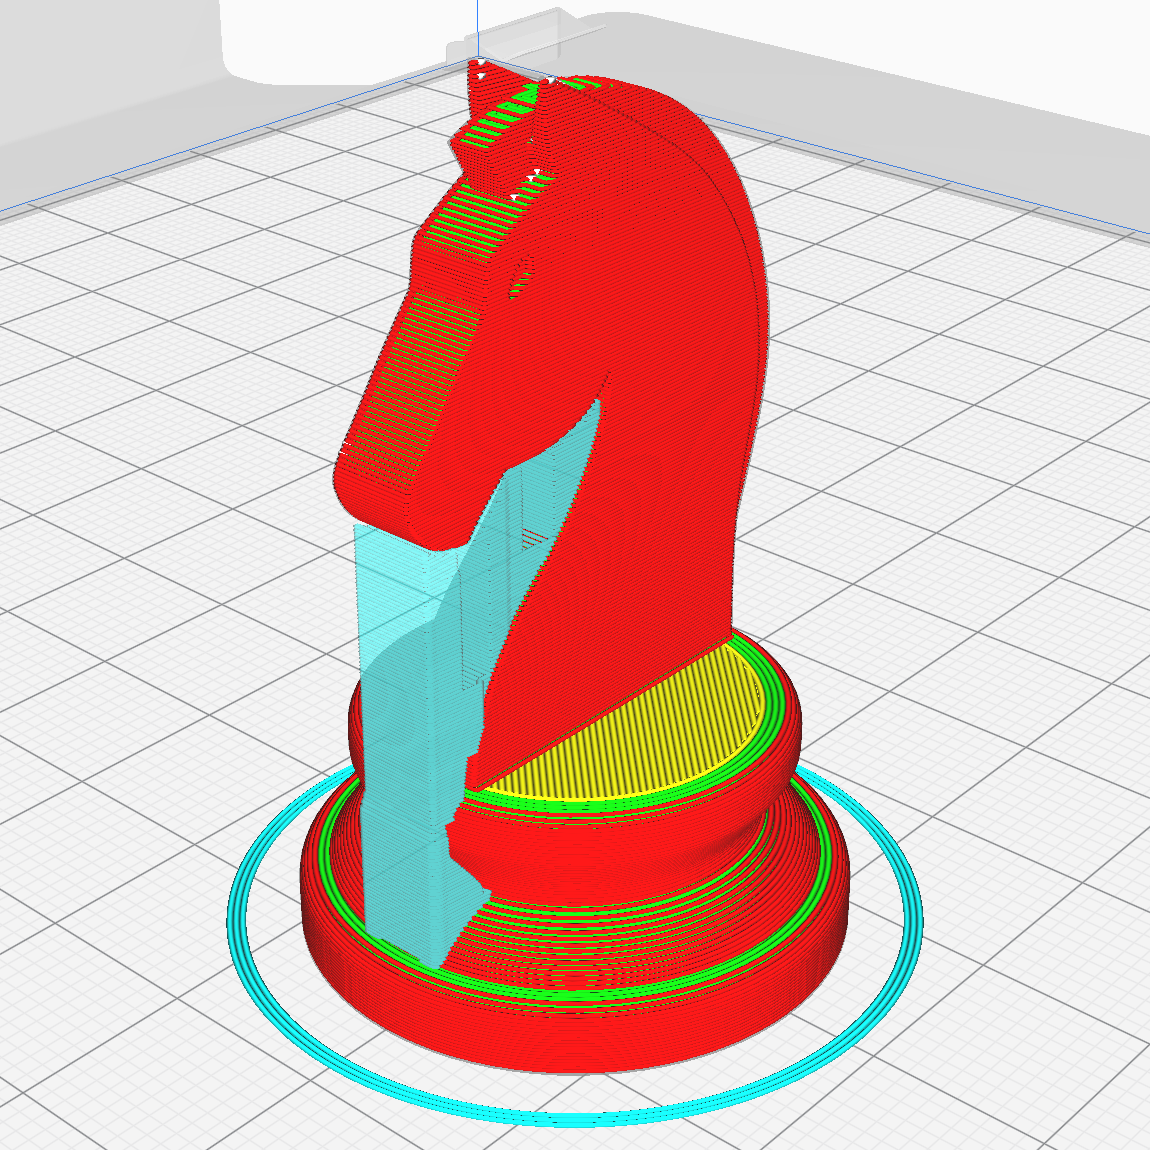
The Knight Chesspiece is exported as an STL file and opened in Ultimaker Cura to slice it. The following are the machine settings:
3D Printer
Ultimaker 2+
Material
Black PLA
Quality
Layer Height 0.2mmTop/Bottom Thickness 0.8mm
Infill
20% Grid Pattern
Support
45° Support OverhangZig Zag Pattern
Build Plate Adhesion
Brim
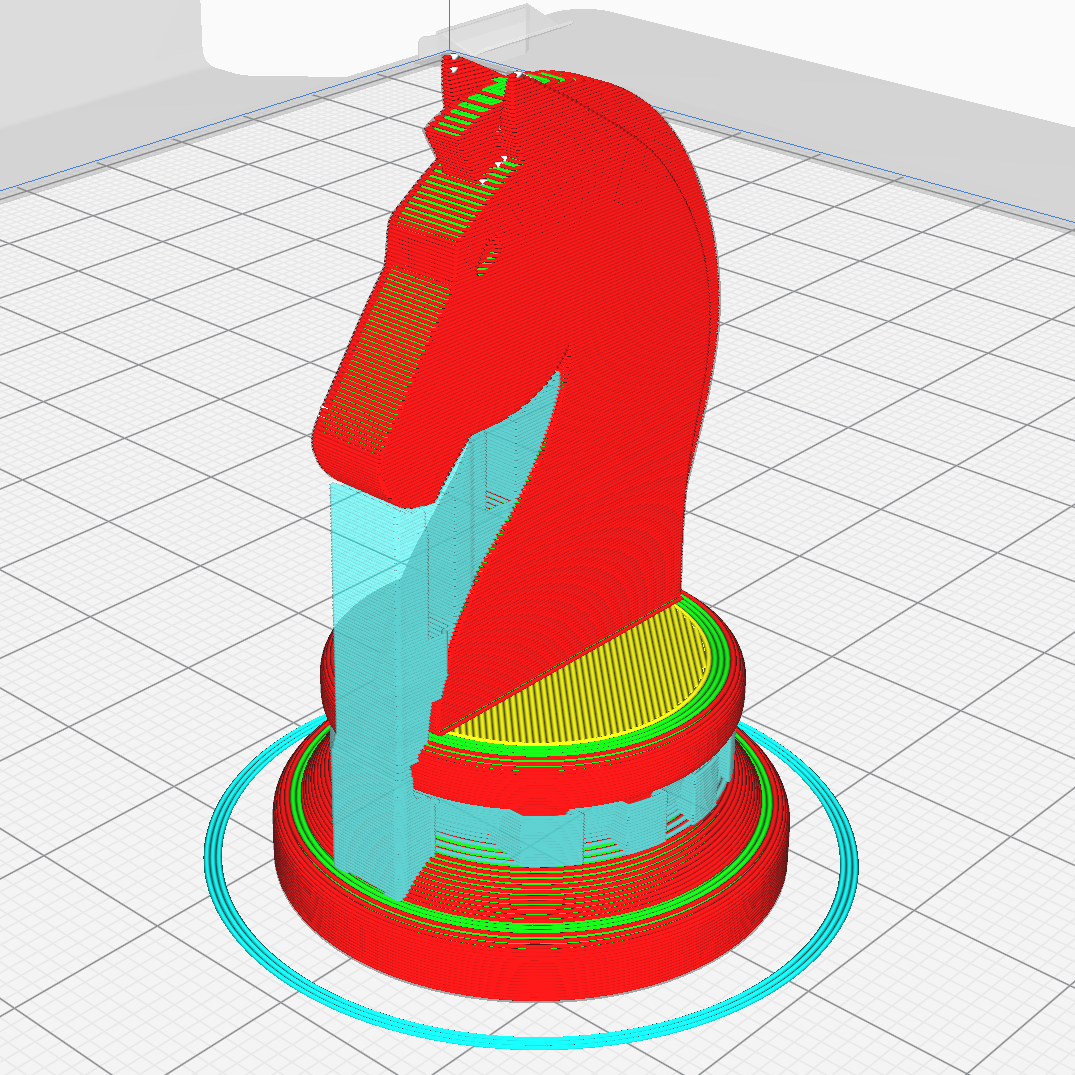
Cura Slicing
Knight Chesspiece
The sliced model has some supports around the base and underneath the head which later will be removed after the print.
Challenges
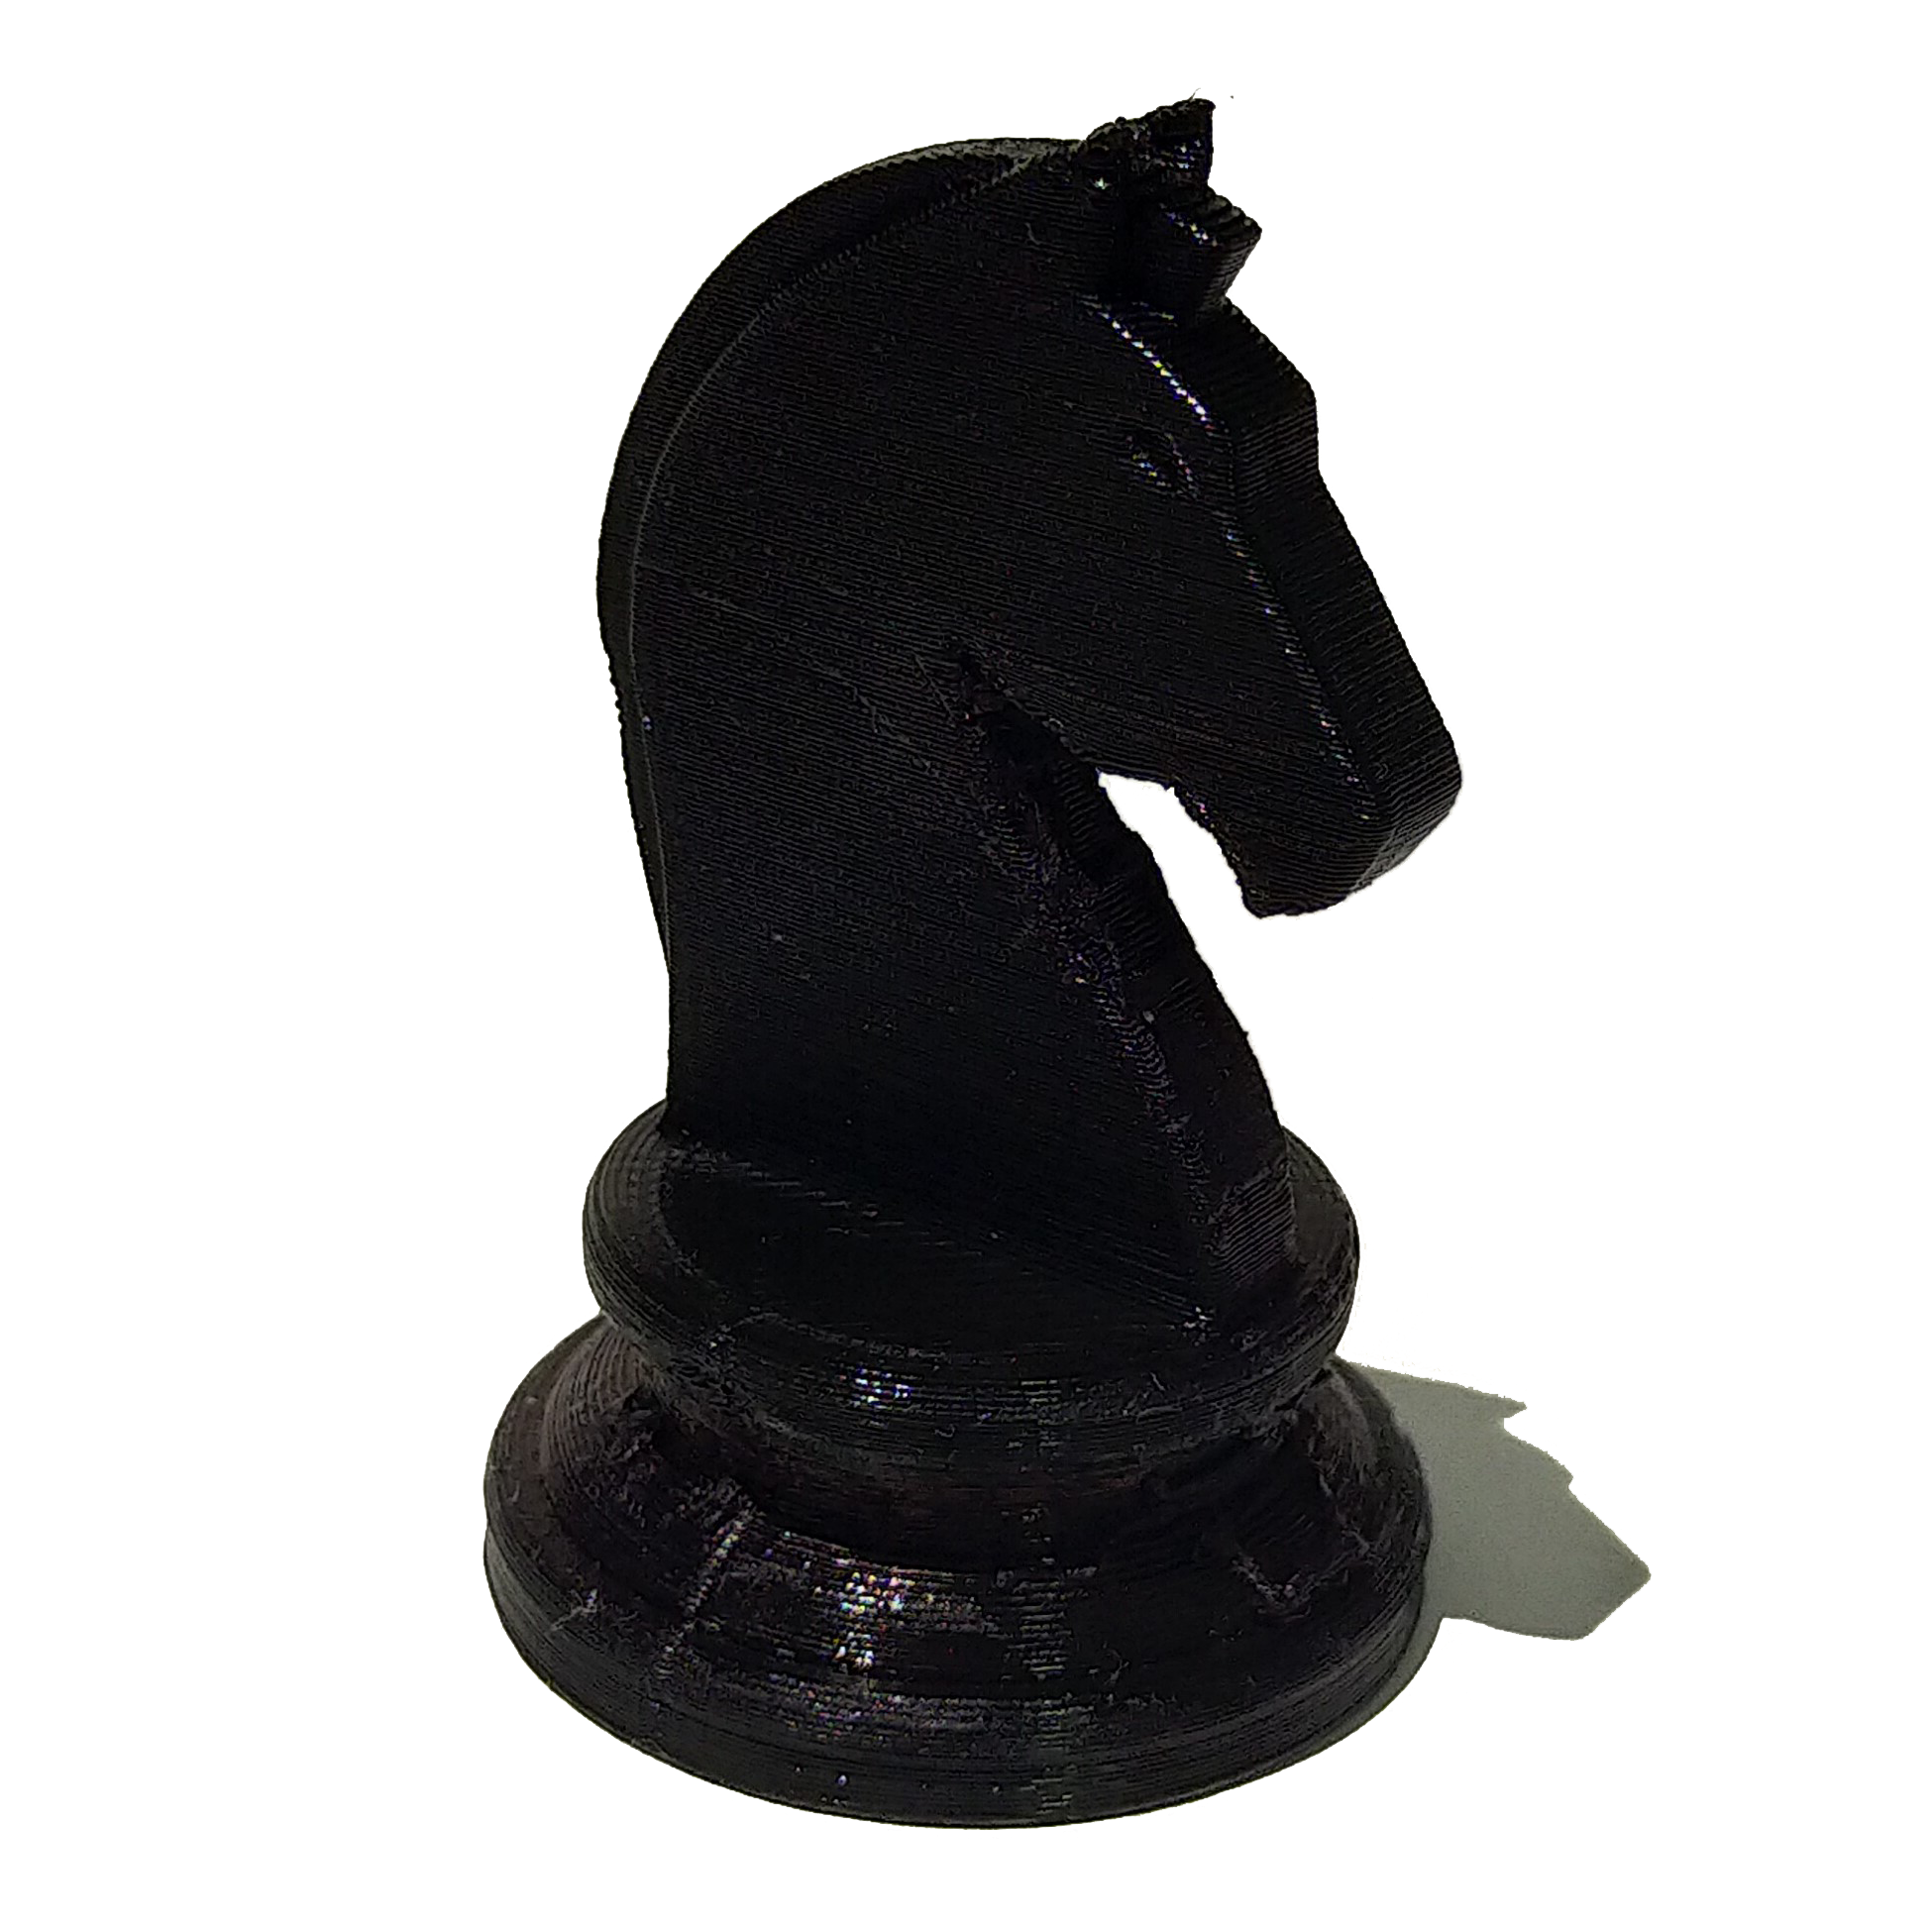
What happened
The supports are very difficult to remove when the print was finished. They were printed very close to the chesspiece, making them hard to break off. I had to use cutting tools, pliers and sand paper to remove the remaining supports stuck onto the surface. However, this resulted in poor surface finish as shown.
Open image in new tab to enlarge the photo to see the details
Remodeling
New Base Sketch
New Base Cross-section
New Model Slicing
How to improve
Knowing that models will require supports if they overhang more than 45°, I will need to make adjustments to the angle if I want my model surface to print well. This can be done by adjusting the support angle at more than 55° since the printers now can print at higher angles without issues. Although the new sketch of the base differs from the original, there will be no/minimal supports generated. Not to mention that the presence of supports will extend the printing time.